|
|
Post by PICTUP on Dec 12, 2015 8:34:08 GMT -8
My generator is there now. Turns out it is a 6V as could be suspected considering the date. To get it changed to 12V would be ridiculously expensive, so I won't be doing that! They have offered me another 12V version that is "close", but I haven't seen it yet.
I have to make, or have made, a throttle arm for the carb. After viewing a bunch of pics I think I know what I am basically after. Unfortunately the machinist I know is really busy, even in his retirement….
|
|
|
|
Post by Brenticon on Dec 12, 2015 11:12:07 GMT -8
I will say one thing for sure, "it's green"
|
|
|
|
Post by PICTUP on Dec 12, 2015 19:04:34 GMT -8
Well, I have never accused you of not being observant. But guess what kind of paint it is…it's your favourite >>>>>>> TREMCLAD!!!!  |
|
|
|
Post by Brenticon on Dec 12, 2015 20:11:17 GMT -8
Nice, but are those fibreglass valve covers?
|
|
|
|
Post by PICTUP on Dec 12, 2015 20:59:46 GMT -8
Nope, sculpted Sprayfoam with Tremclad Aluminum paint  |
|
|
|
Post by Brenticon on Dec 12, 2015 23:12:39 GMT -8
Hahahahaha ....  .... We're hilarious |
|
|
|
Post by PICTUP on Dec 20, 2015 21:39:28 GMT -8
So after hearing the machinist was too busy at the moment, I thought I'd give making the throttle arm myself. After purchasing a lump of brass at the metal supermarket I went to work in my characteristically neanderthal manner... First split it in two along its length 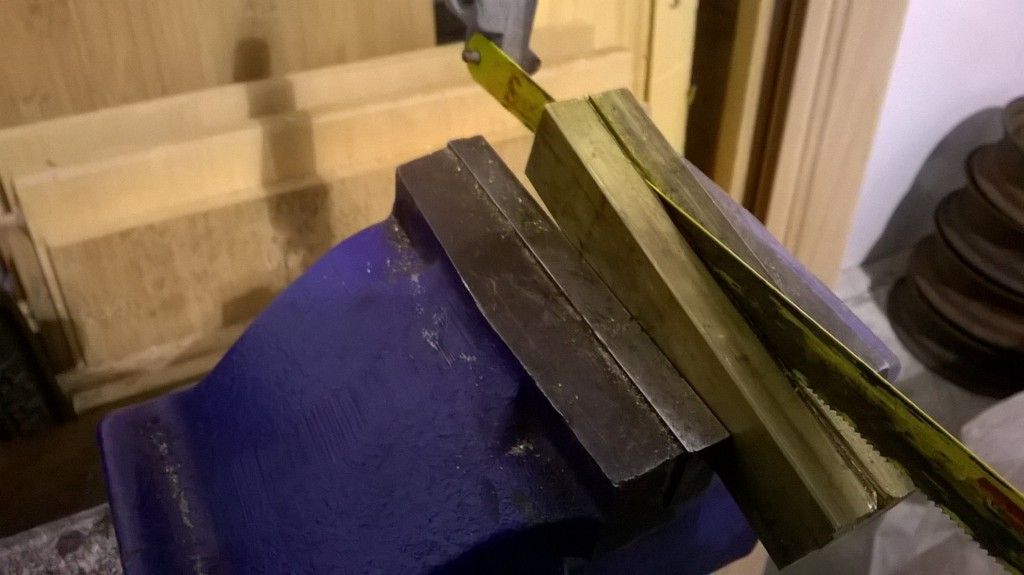 Excuse the poor pic, but here are the two, roughly equal pieces. 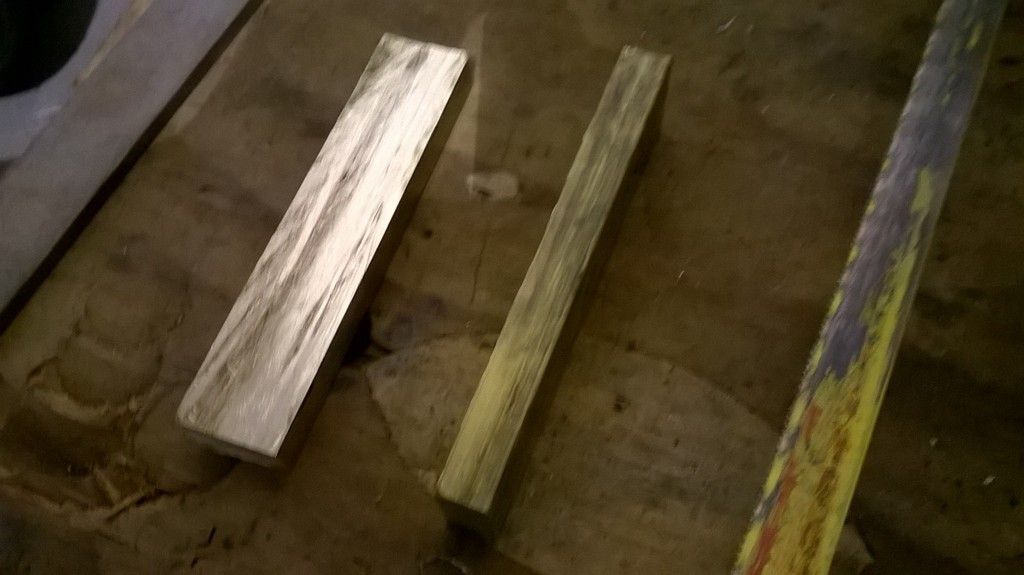 With my trusty Sharpie(felt pen, not boat ) I roughed in what I was after. The final shape was to be determined as I went along. Probably not the best way to go, but I had no absolute idea what it truly looked like. Then I set to shaping. 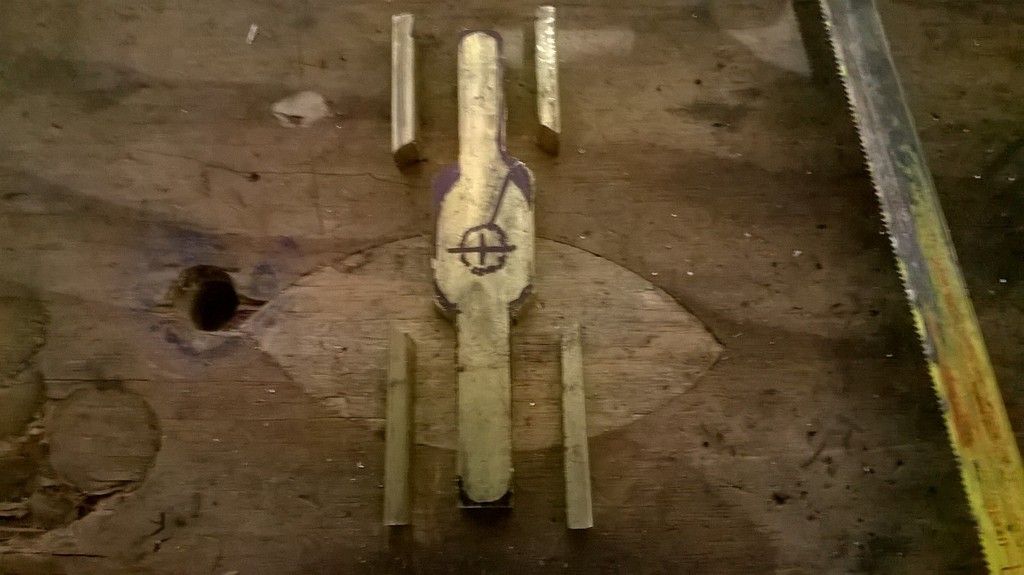 I drilled the hole for the throttle shaft and then the clamp screw. I had yet to make the cut(slot) for the clamp to actually work. Here is the drill and tap to use. 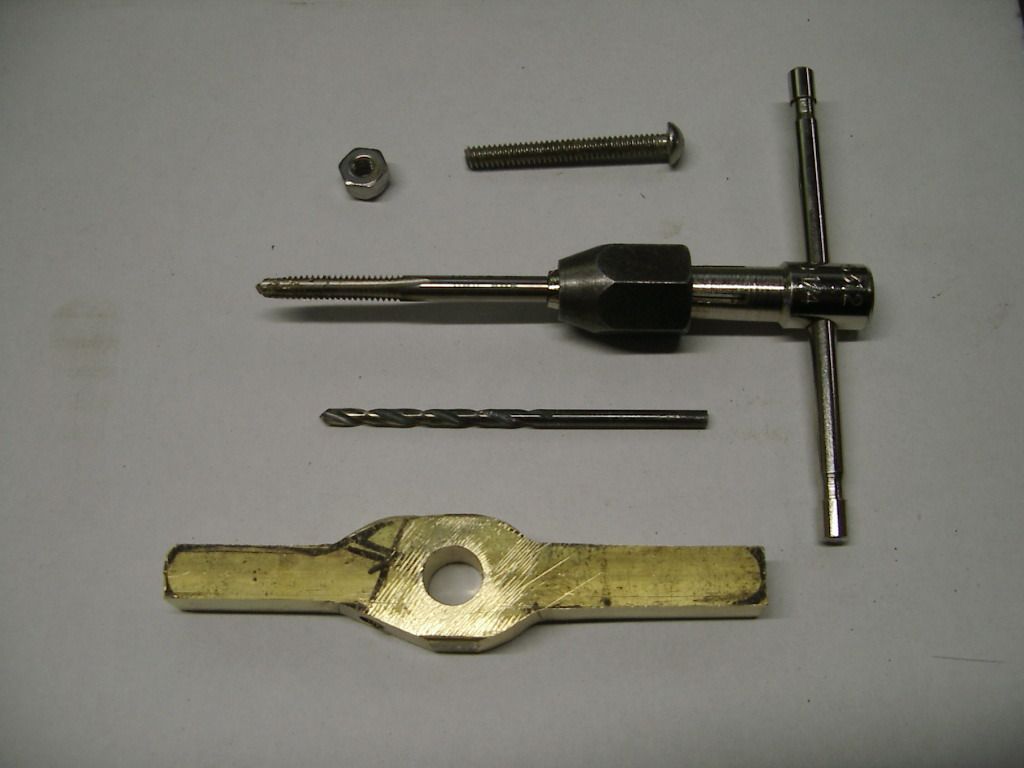 I also wanted to drill some holes for attaching the return spring and the actual throttle cable. Since I don't know how I will be making the final connection I decided to thread these holes rather that have them be just holes. More options are always better 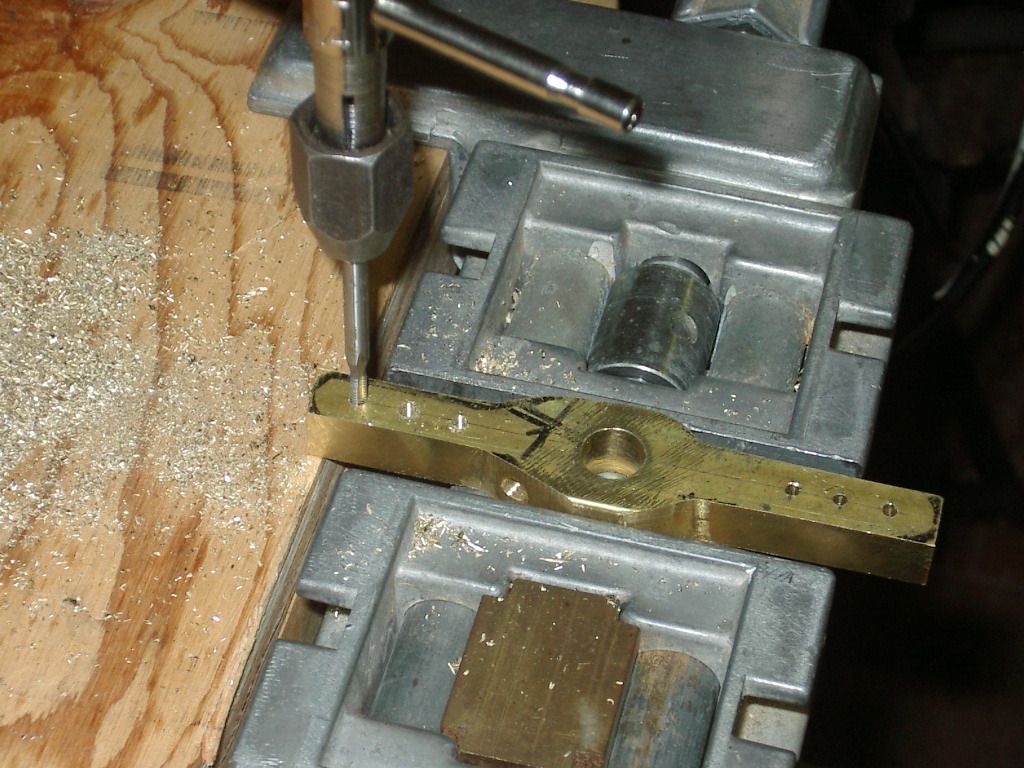 Brass is so easy to thread when the the tap is so fine that I went a bit, ahem, overboard. Some time ago I go a bunch of brass machine screws for hobby work and they came in handy here. 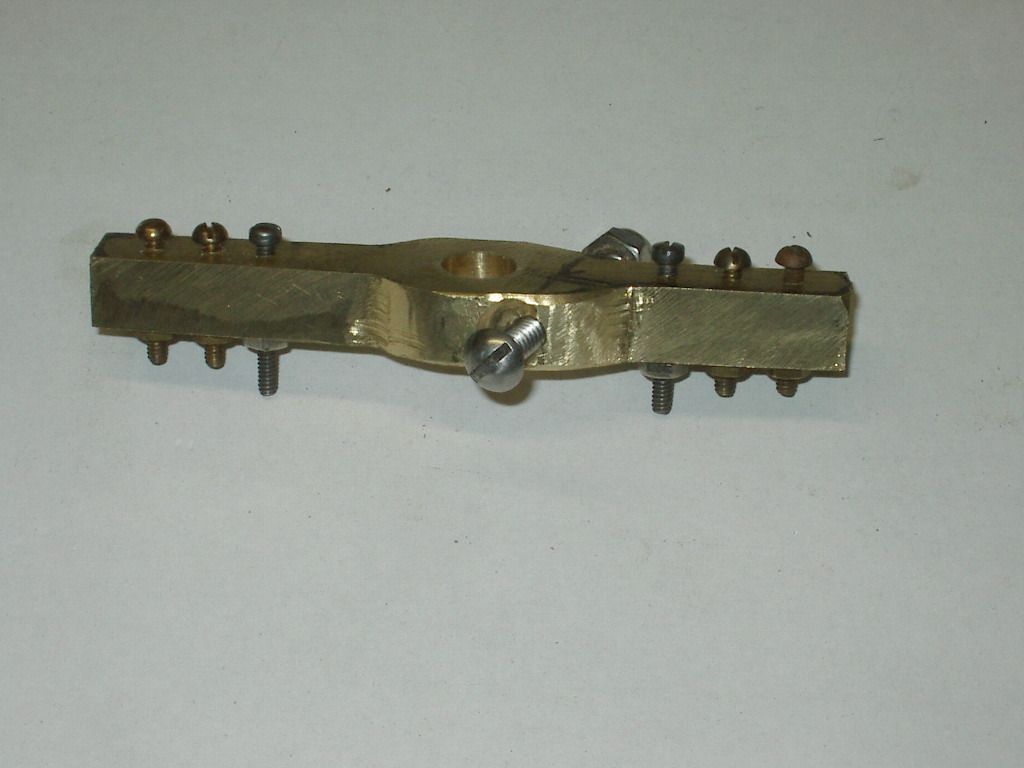 The final shape of the piece ended up being this( the backside has even more cut out to allow for clearance on the carb body 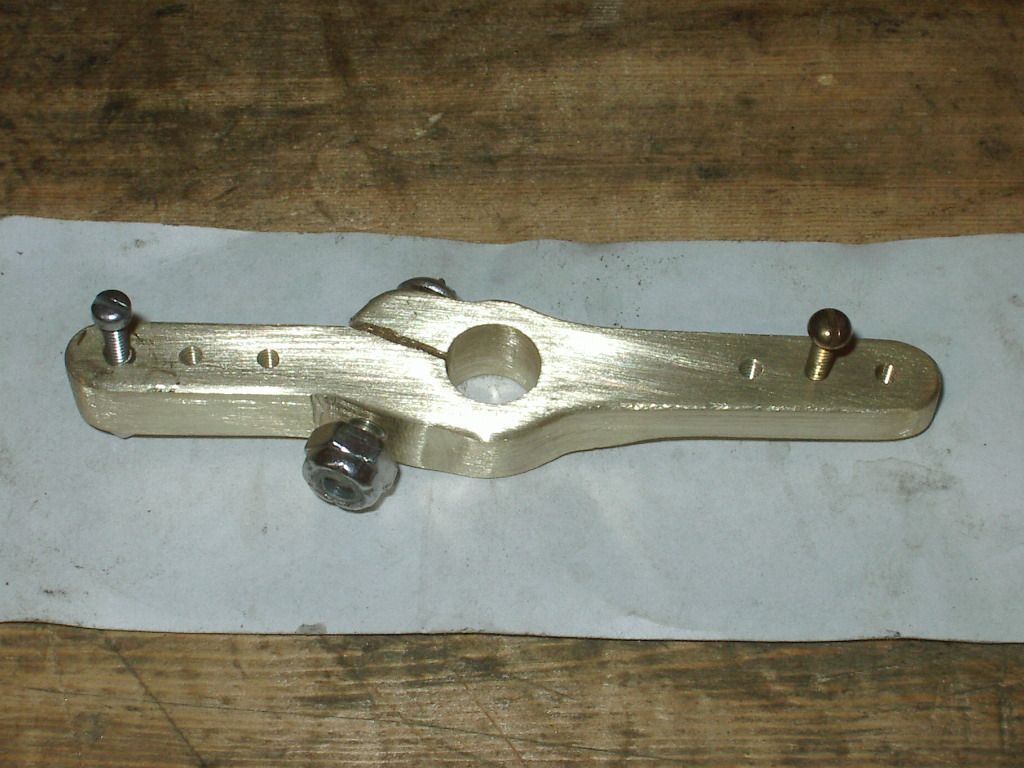 Clamped in place 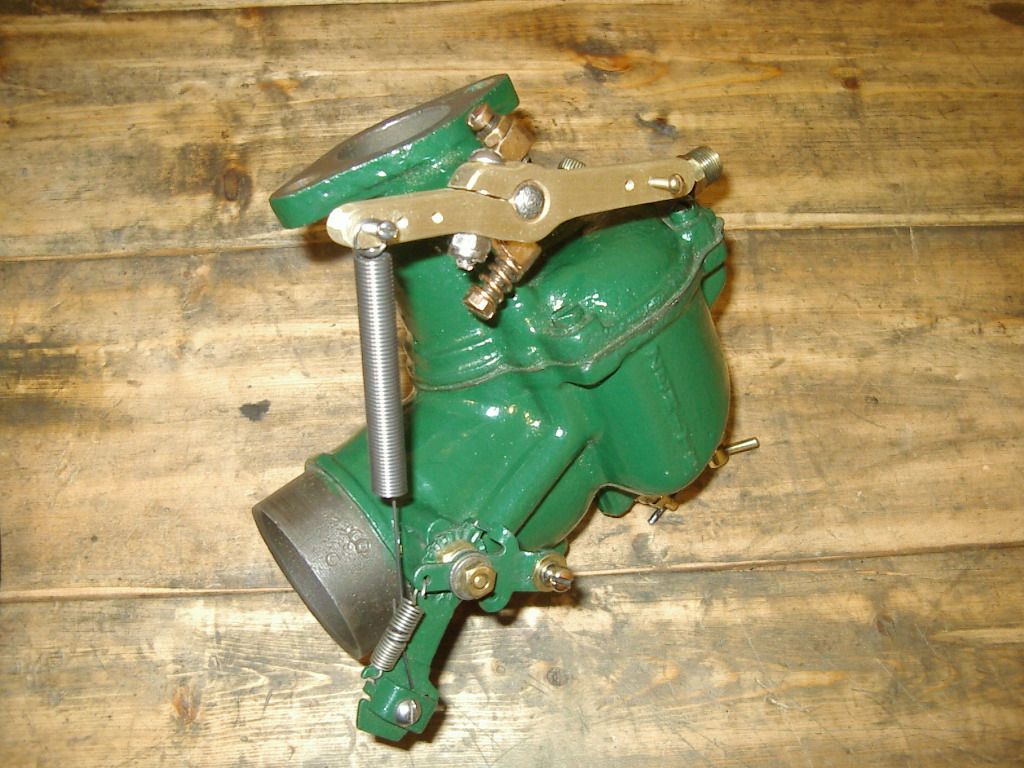 Soon it will be on the engine. It'll be nice to have a controllable throttle. |
|
|
|
Post by Volktales on Dec 21, 2015 8:24:11 GMT -8
It's potato time soon! Don will have to explain that...
|
|
|
|
Post by PICTUP on Dec 21, 2015 22:42:39 GMT -8
It's potato time soon! Don will have to explain that... It was tonight in fact! Russ is referring to the fact that according to the old timers, 3 cylinder Easthope engines said, "potato, potato, potato, etc,...". Sure enough, mine does once again! Incidentally the 2 cylinder models apparently said,"two-bits, two-bits, two-bits, etc,....", but I don't think that referred to how much gas they drank Hopefully I will be able to twist Brent's arm over the holiday to take a video...How's about it Brenticon? Not tomorrow though, as I have Britannia Heritage Shipyard people coming to have a look. Fingers crossed they still like Burnaby! |
|
|
|
Post by Brenticon on Dec 22, 2015 7:01:49 GMT -8
Sounds like fun .... Have 5 days off coming up
|
|
|
|
Post by PICTUP on Jan 28, 2016 23:15:21 GMT -8
I am sure there isn't much interest in boat work on this forum, but since my VW stuff is on hold because of my crazy project I figure I'll bore y'all… Around the edges of the deck of a boat there is what is known as a bulwark. When I got my boat there was no bulwark around the aft deck, but judging from the pics of her working back in the 30's she did indeed have a short one. But I had never done bulwarks before and had no idea as to what dimensions, or scantlings, they'd be. So I started by making some drawings on cardboard. At first my ideas were much too wimpy of what they should be. My friend Ted who has been a shipwright for almost as long as I've been alive and had the opportunity to learn from the old timers, set me straight. It turns out that they look best being much more chunky monkey. 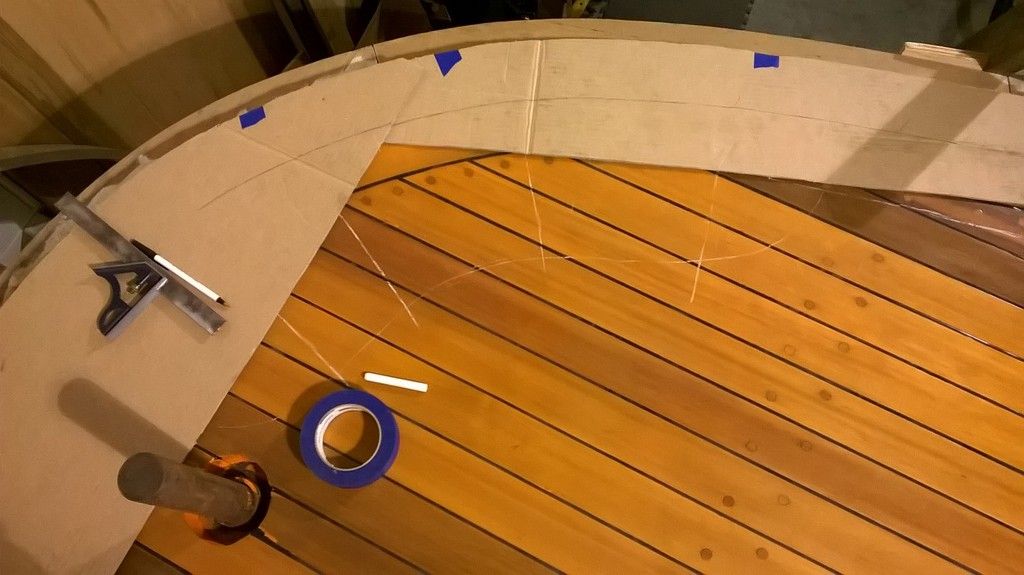 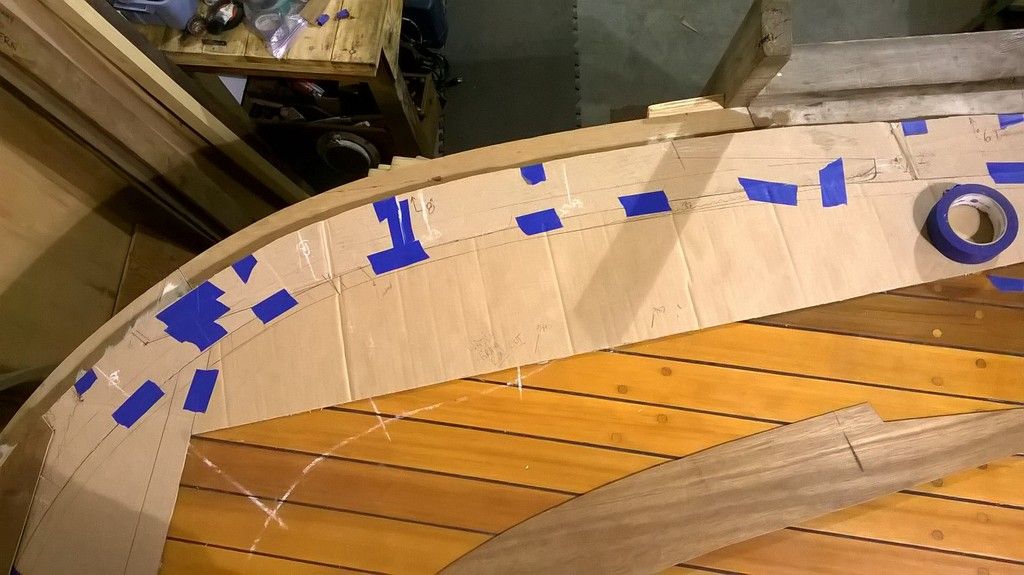 The chalk lines denote where I will be able to fasten the bulwark in place. 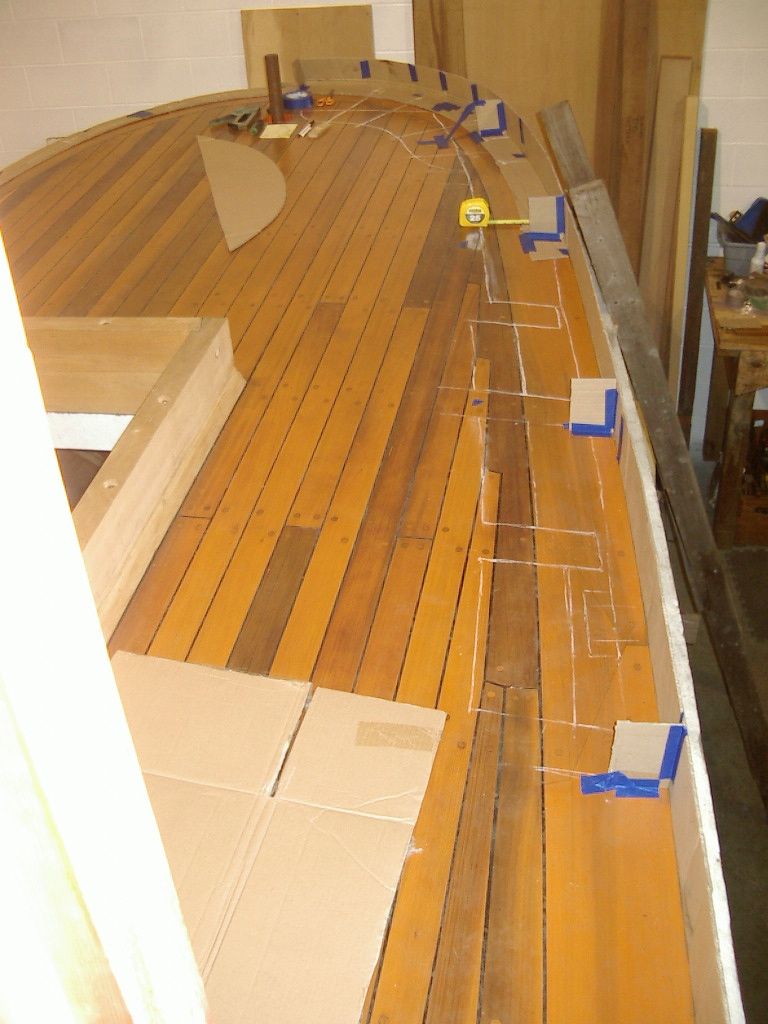 I also had to figure out what the height and bevels for flare and tumblehome should be, so lots of patterning… 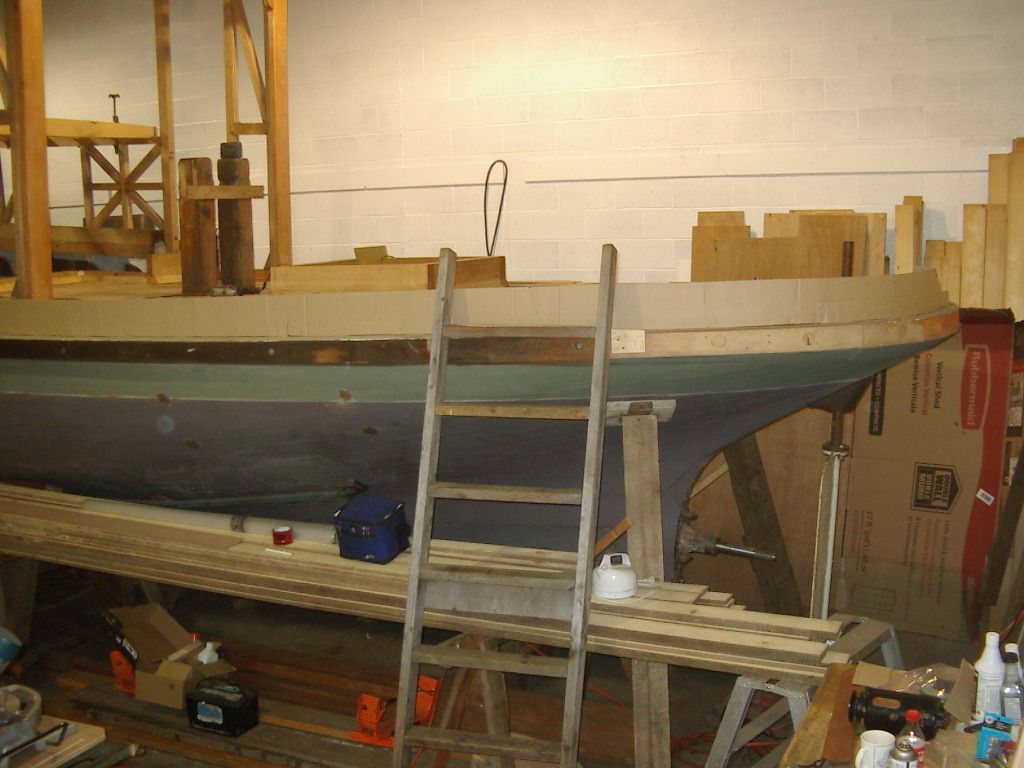 Then I had to make "real" patterns out of doorskin 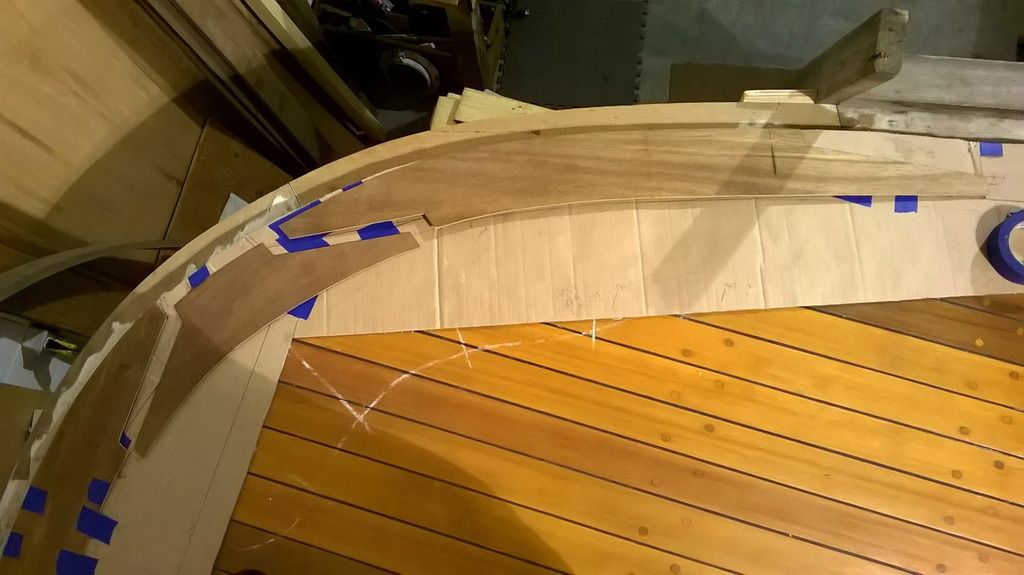 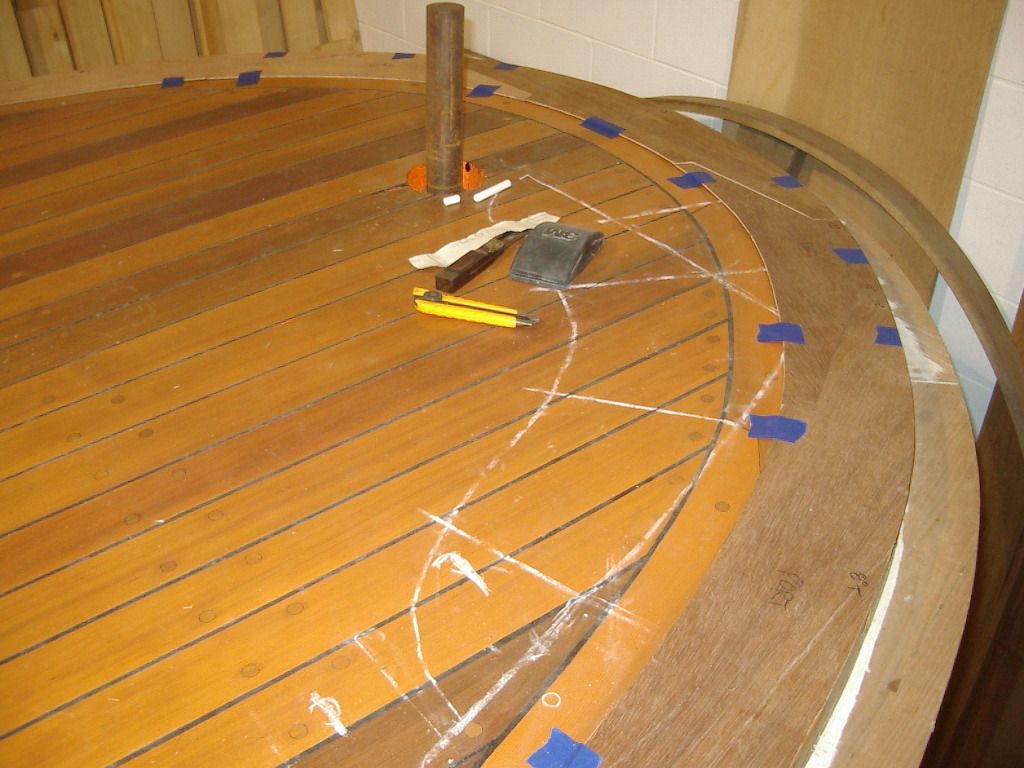 And figure out if I have enough yellow cedar stock  To make the best use of the yellow cedar I had to mill it down to 4 1/2" thick, but that meant a 8" cut  My worm drive skill saw could only do part  Tried handsaw ripping, but it didn't work 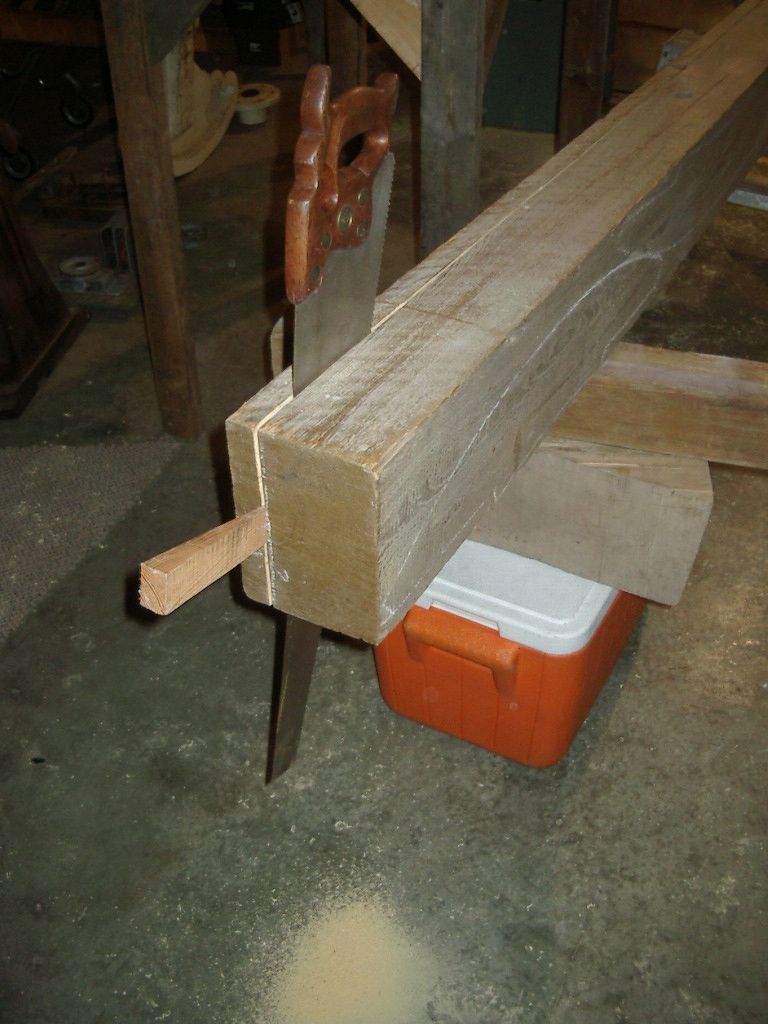 Ended up resorting to Ted's 11" Makita 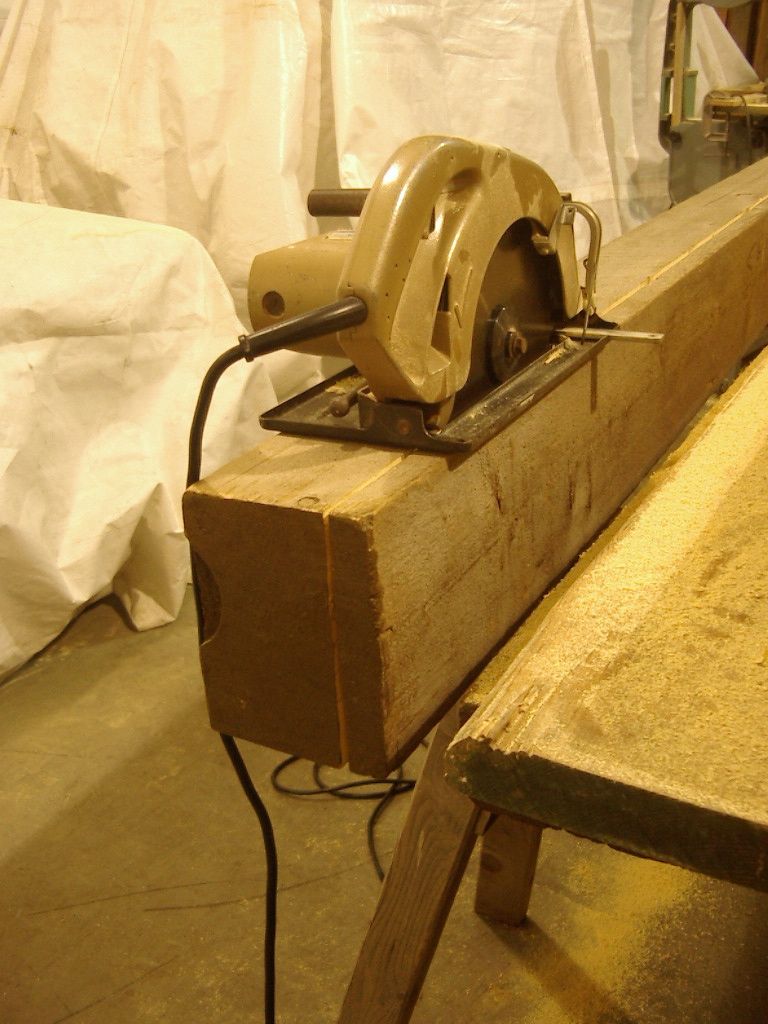 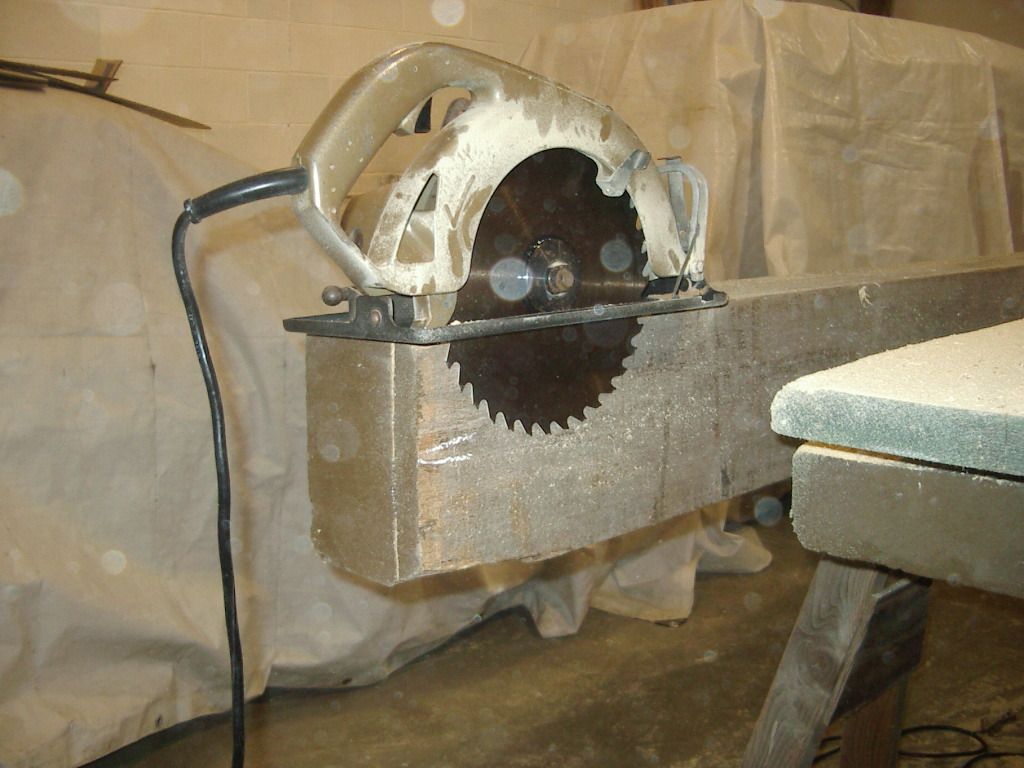 But I still needed to handsaw the last middle 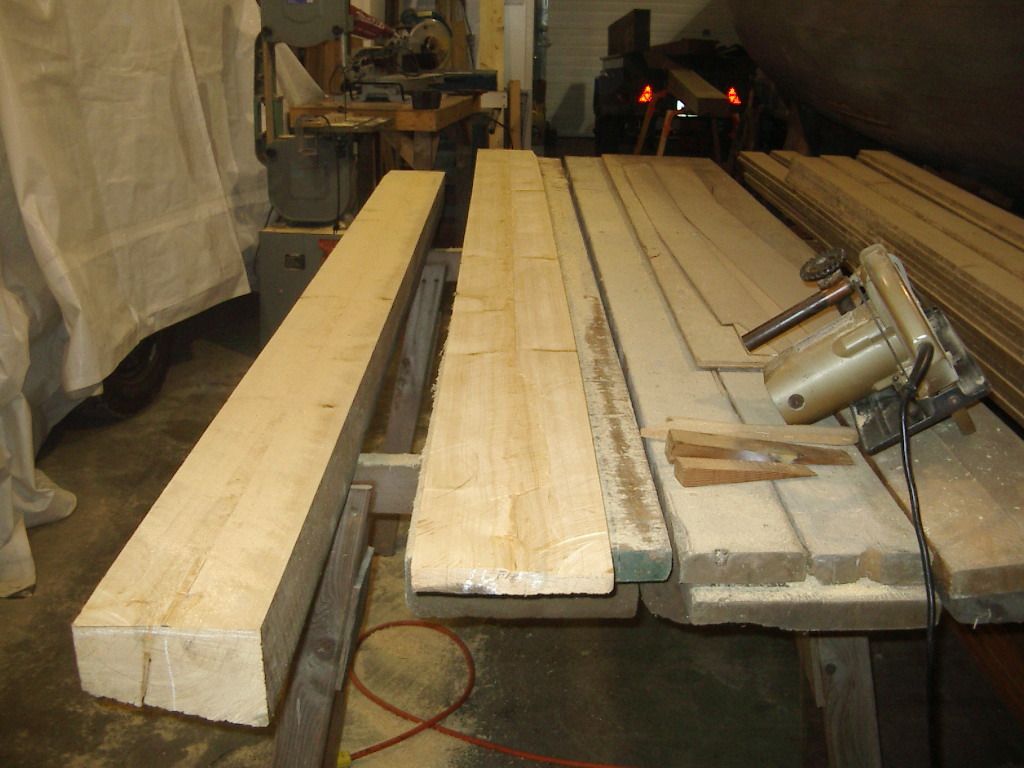 After a little power planing and hand planing, I could draw the patterns directly on the stock 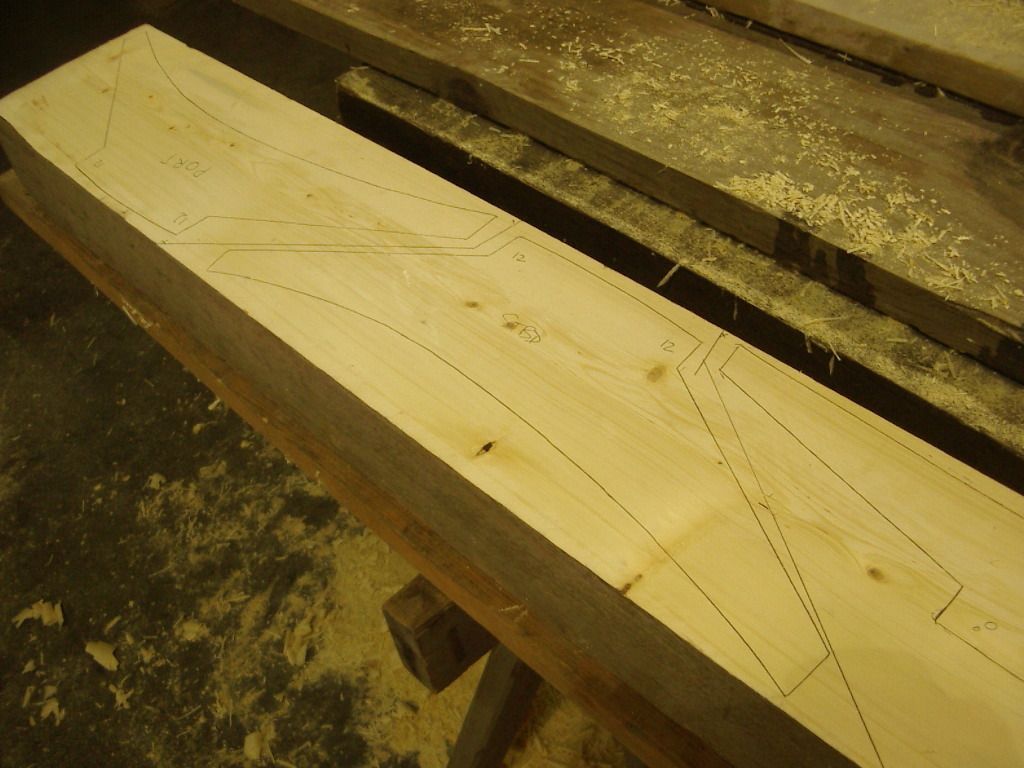 Cut pieces out and start fitting 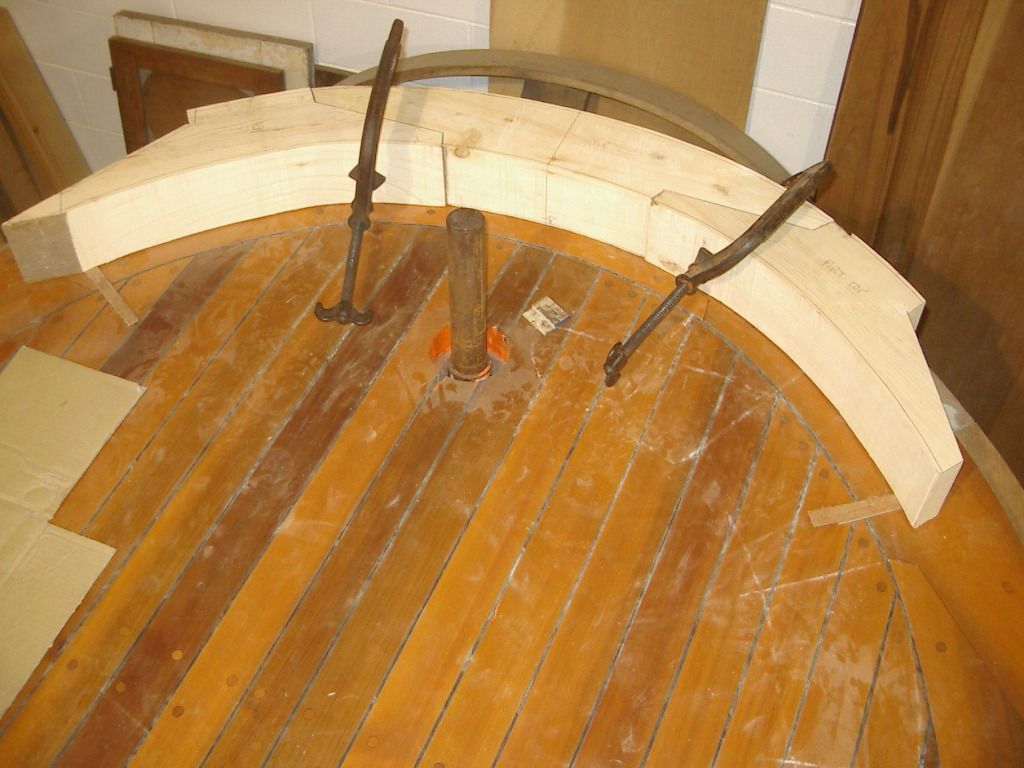 |
|
|
|
Post by Volktales on Jan 29, 2016 8:24:08 GMT -8
Waaaaay too much work for me...
|
|
|
|
Post by Brenticon on Jan 29, 2016 12:11:59 GMT -8
|
|
|
|
Post by CrazyBrit on Jan 29, 2016 12:45:42 GMT -8
Nice Don. Windsor Plywood also stock cedar and various different exotic woods. I love wooden boats, although I would never want to own another, after all the work that went into my wooden sailing dinghies back when I was a kid. They take even more work than rusty leaky old Volkswagens! And no, this is not boring at all. I even understand all of the terminology!
|
|
|
|
Post by tony on Jan 29, 2016 12:51:22 GMT -8
You guys are amazing with all your terminology and fancy woods , Brent is right behind you restoring his new bus with wood too!!  |
|


