|
|
Post by CrazyBrit on Jan 5, 2016 18:35:46 GMT -8
I would have thought that the dash cap would have covered those oval-ish shaped holes along the top? Mine curves down over the top of the dash. The rest look like they're used for switches and the like.
The early seventies and late sixties cars also run an under dash cover (missing from my car), which would probably cover the lower holes.
|
|
|
|
Post by Volktales on Jan 10, 2016 21:26:02 GMT -8
Well today it was time to reface the dash on Brian's Ghia. Don and I arrived in the morning to lend a hand. And somehow Don got roped into doing a lot of the work that I was supposed to be doing. I wonder how that happened??? Anyway before the work started, here is a shot of the package tray that Brian successfully recovered. His first attempt looked nice, but tuned out to be stretched too tight, and the glue let go in the curved area the next day. Second attempt with the material not so tightly stretched was the charm...

Now on to the big job...

Here Brian and Don are test fitting the replacement dash facing. It seemed to be decent at first, BUT there was a problem... It seemed the dash facing had shrunk ever so slightly, and if seated fully on one side, it would not fit quite correctly on the other. We are talking 1-2 mm off, but this was enough to cause a problem...

The boys first use some tape and pen to make alignment marks to help with the installation.

Don suggested to try a heat gun to see if the facing could be softened and stretched slightly. With a bit of patience, this seemed to work... Spray on contact cement was applied to both surfaces, and left for at least five minutes. Then carefully the facing was applied, starting with the right side. Things did not quite go as planned...

Look at the serious look on Brian's face. It seems the facing may have shrunk again as the right side was fit first, and was pressed into place. However now the left side did not quite line up. As the facing is molded, it MUST line up to work correctly. It was a tense moment as the left side of the facing (which was not stuck down yet), was heated up some more and coerced into place. It worked in the end, but was touch and go for awhile...

There was one spot that caused problems next to the clock hole. It did seem to sort itself out with careful applications of heat. The upper dash pad will likely cover most of this anyway...

And there it is...

The fit was very nice on this side.

Eventually this fit well too.

Time to cut the holes with an Exacto knife.

Looks better now..

I was caught installing the hazard and headlight switch in this picture. Brian continued on after we left and likely has most of the dash finished by now. We are looking forward to see the end result with the dashpad reinstalled. After this the glass will be going in!
|
|
|
|
Post by Brenticon on Jan 10, 2016 21:42:21 GMT -8
"That's" why I luv this community!
Good work guys and that ghia's gonna look great
|
|
|
|
Post by tony on Jan 10, 2016 22:18:32 GMT -8
Nice dash pad seminar lads!  |
|
|
|
Post by PICTUP on Jan 10, 2016 22:38:29 GMT -8
Unfortunately this particular part is NOT cheap(but cheaply made  ) making this a bit of a nail-biter. Brian didn't have a proper heat gun and after working with the vinyl on the Westys I would have liked to use a bit more heat for the initial stretch-out because of the necessity of getting the whole section heated all at once. But we worked with what we had as I wasn't driving home to get a heat gun that may end up ruining the piece had it been used too liberally. At one point Brian had to be convinced not to rip off the RHS and try to shift it over a bit to the left. Once firmly pressed together with this spray on adhesive, the two parts are NOT coming apart and I fear if they had been coerced to do so the whole thing would have been a huge, potentially unsalvageable mess. Instead, three of us worked to try and heat the centre portion while keeping the LHS away from being stuck down, so that it could be stretched in-situ(photo 4 in the series of the process). Thus the word "eventually" in Russ' commentary. This whole process is made very difficult by some things taking time(fitting with heat and contact glue to kick) and some things are too instantaneous(final contact of the cement). All in all it does look very good in person and will look great when all back together with the top and bottoms in place. Brian has some subtle custom touches what he hopes to pull off with the help of Nanaimo Sheet Metal. Keep your fingers crossed it works because if it does, it will be a neat addition. Stay tuned! I have Brian's clock guts to see if I can't get them working. I will post up the results soon.  |
|
|
|
Post by Wongai on Jan 11, 2016 13:45:06 GMT -8
Well done!
way to help a brother out. Sometimes having a few brains and 6 hands can make a job like that possible. Always good to have someone to share the blame with!
Looks great guys. That job took guts and dollars, but the resto would not have been complete otherwise.
BUTE!
B
|
|
|
|
Post by tony on Jan 11, 2016 14:14:35 GMT -8
Don't we function on about 10% of our brains , in that case you guys did a great job on less than a third of a brain , BRAVO?!?!  |
|
|
|
Post by PICTUP on Jan 11, 2016 21:27:32 GMT -8
And it took us about 100K times as long to do it as it took in the factory, considering it probably took all of 10 seconds on the assembly line |
|
|
|
Post by PICTUP on Apr 9, 2016 20:19:15 GMT -8
Went out to Brian's to give him the refurbished clock(see here: miacvw.proboards.com/thread/654/vw-vdo-kienzle-clock-repair ). He had Tom the glass man there to do the windows in the Ghia plus his neighbour's truck rear window. Well, turns out his long awaited for windshield for the Ghia is 1/4" too big! Crap!!  So they went ahead with installing the rear window and then started to contemplate how to rectify the problem with the windshield… 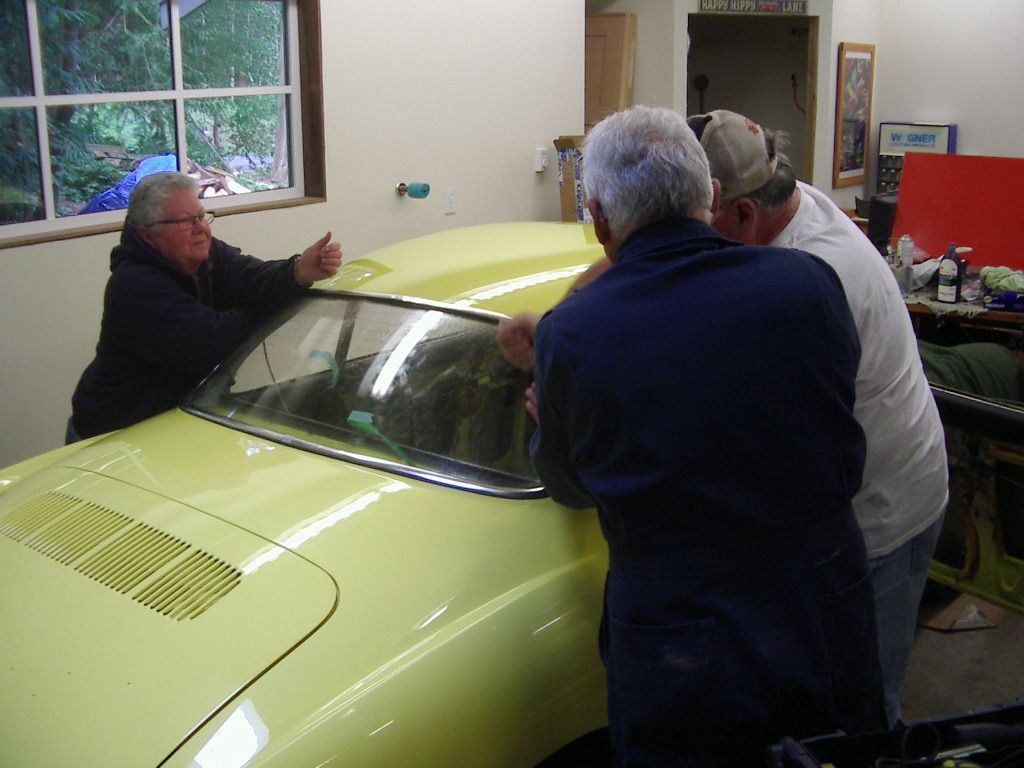 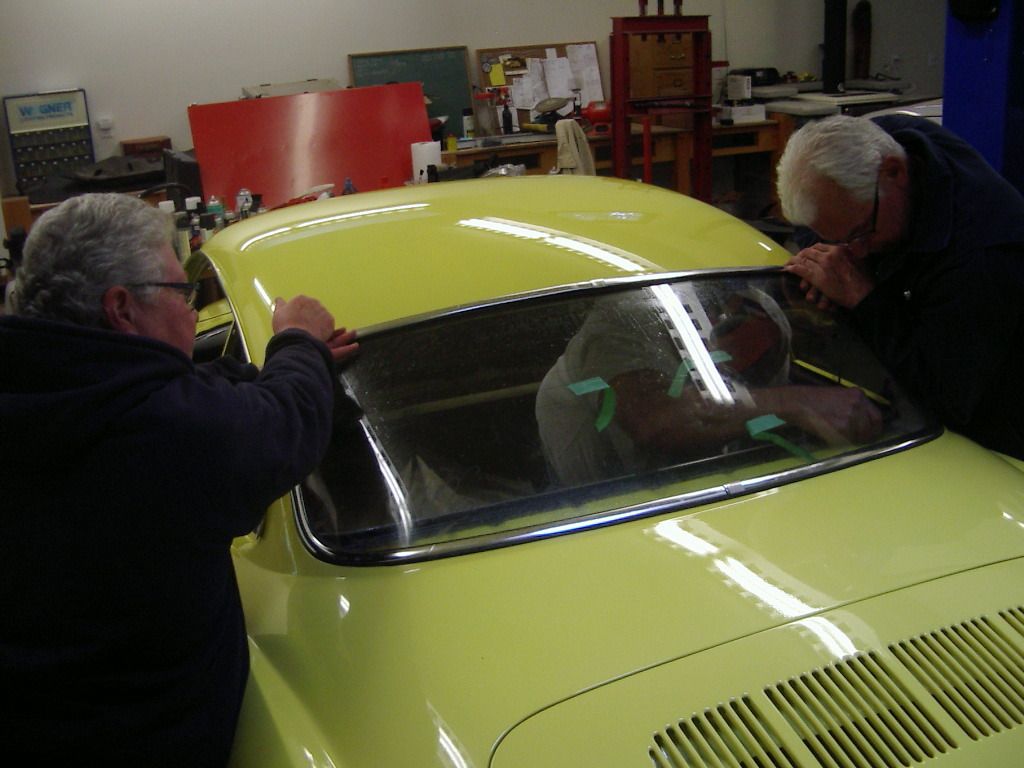 Brian's custom touch on his speaker grill. Kind of an experiment, but he's happy with the way it finally turned out. The KG script was water jetted by Nanaimo Sheet Metal, but the insides of the a's were so fragile, Brian mixed up some tinted epoxy, filled the script in and then sanded it smooth. Looks good…but should I point out the scratch?  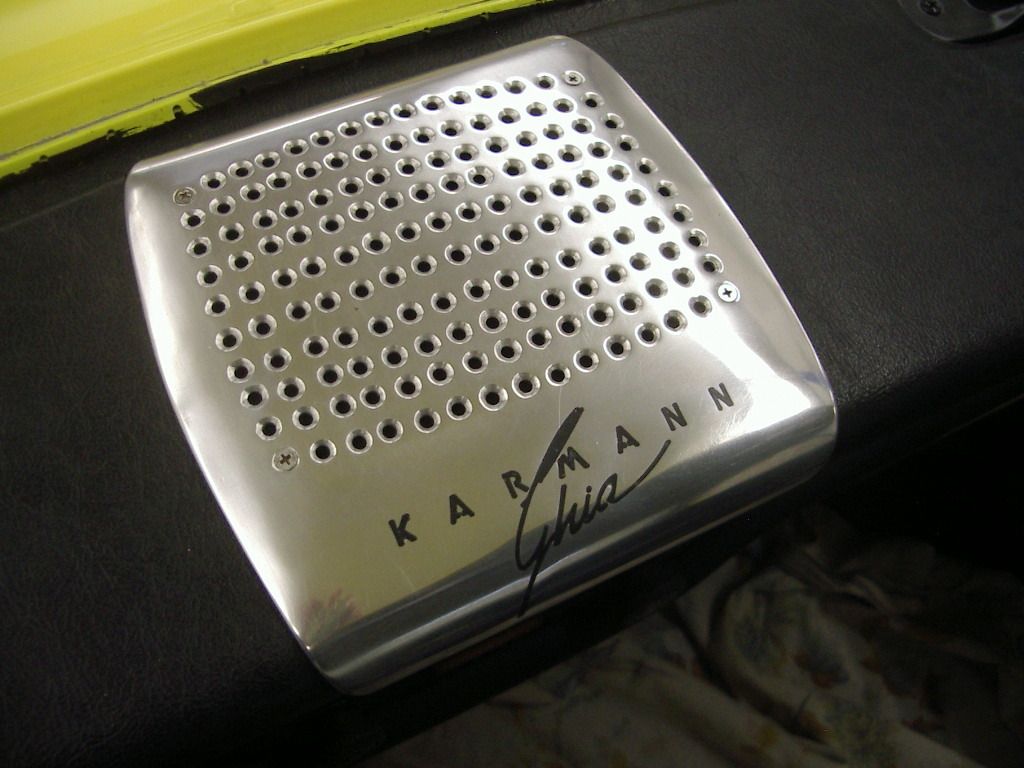 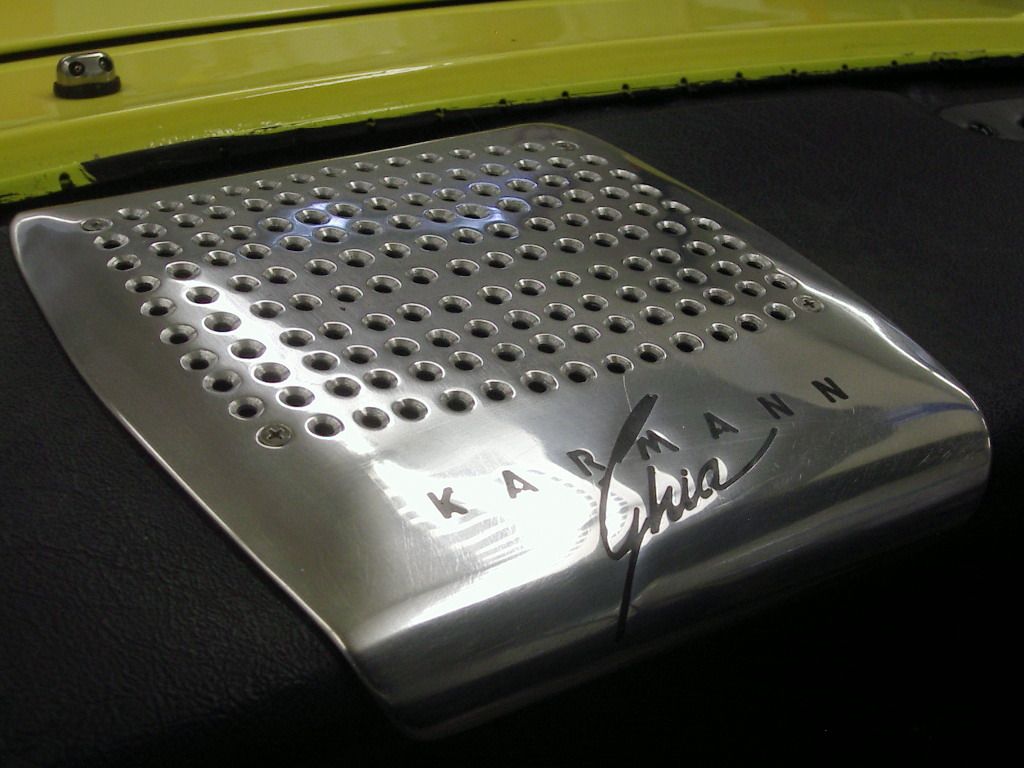 |
|
|
|
Post by CrazyBrit on Apr 10, 2016 8:00:51 GMT -8
If it measures 17 1/4" from top to bottom edge, he has an early screen. The later ones measure 17". They changed in 1966 for the 1967 model year. Perhaps he and Russ should swap screens?
|
|
|
|
Post by Volktales on Apr 10, 2016 19:42:05 GMT -8
I already have one in "stock". In fact Brian picked it up for me from House of Ghia years ago...
|
|
|
|
Post by Volktales on Feb 19, 2017 9:38:27 GMT -8
No pretty pictures at the moment, but here is an update on this project... Little has been accomplished on this project for some time as summer BOATING related activities took over!!! Brian also couldn't help himself and sanded down the paint on the car with 1500, 2000, then 3000 grit paper to get a glass like perfect finish. He did all this by hand and has yet to do the final polishing. As you can imagine, this took a considerable amount of time and patience. Then he finally got back into dealing with the engine...
The engine was rebuilt by Brian for the previous owner well over 25 years ago. He thought it was enlarged to a 1776 at the time but was not quite sure. His intention was to reseal the engine, but not do a full rebuild. Removing the heads and checking them was done however, which revealed the heads to be original and worn, and the engine turned out to be only a 1641. Clearly this would not do, so a rebuild to 1776 specs is intended which will be a better fit with the Webers and Vintage Speed exhaust. Hopefully we will see this project finished this year!!!
|
|
|
|
Post by Wongai on Feb 20, 2017 10:04:08 GMT -8
Having a boat and a VW is like having two wives (or husbands). Tough to make time for both. Oh well, this car is well past the point of no return. Wont be long now.
|
|
|
|
Post by CrazyBrit on Feb 20, 2017 12:13:09 GMT -8
It's not just the time. We think restoring old cars is expensive. Try running, or worse, restoring a boat. Isn't that right Don?
|
|
|
|
Post by PICTUP on Feb 20, 2017 15:22:22 GMT -8
It's not just the time. We think restoring old cars is expensive. Try running, or worse, restoring a boat. Isn't that right Don? Don't remind me! So much time and money...wasted!!! |
|


 ) making this a bit of a nail-biter. Brian didn't have a proper heat gun and after working with the vinyl on the Westys I would have liked to use a bit more heat for the initial stretch-out because of the necessity of getting the whole section heated all at once. But we worked with what we had as I wasn't driving home to get a heat gun that may end up ruining the piece had it been used too liberally. At one point Brian had to be convinced not to rip off the RHS and try to shift it over a bit to the left. Once firmly pressed together with this spray on adhesive, the two parts are NOT coming apart and I fear if they had been coerced to do so the whole thing would have been a huge, potentially unsalvageable mess. Instead, three of us worked to try and heat the centre portion while keeping the LHS away from being stuck down, so that it could be stretched in-situ(photo 4 in the series of the process). Thus the word "eventually" in Russ' commentary. This whole process is made very difficult by some things taking time(fitting with heat and contact glue to kick) and some things are too instantaneous(final contact of the cement).


 So they went ahead with installing the rear window and then started to contemplate how to rectify the problem with the windshield…


