|
|
Post by Wongai on Feb 11, 2016 15:19:35 GMT -8
That's awesome. Good effort man. You have inspired me to find some classes like that. Professor YouTube is good, but you can't beat a good mentor and teacher. Good on you!
Byron
|
|
|
|
Post by Volktales on Feb 11, 2016 20:54:50 GMT -8
I wish my metalwork skills were better. Maybe I should take a course like that someday...
|
|
|
|
Post by stude on Feb 12, 2016 11:34:06 GMT -8
Had another class last night 3 guys and instructor I spent the afternoon smoothing out my inner support and welded a crack plus welded up and hammered welds on a few more spots in the decklid then did a bit more sandblasting. 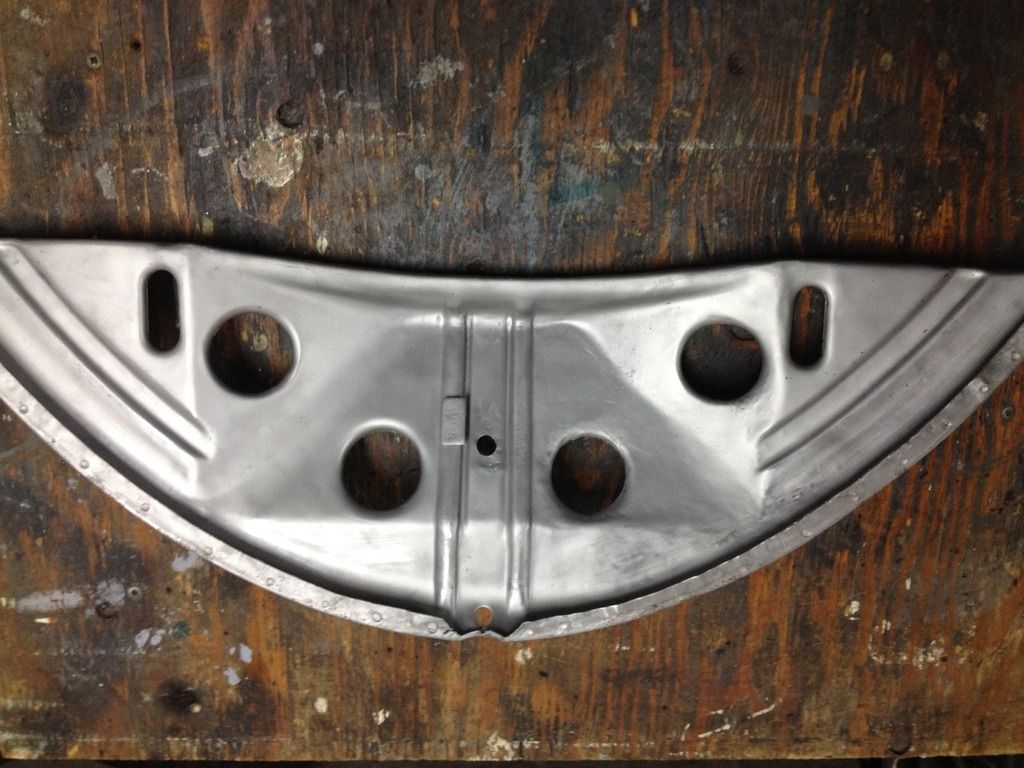 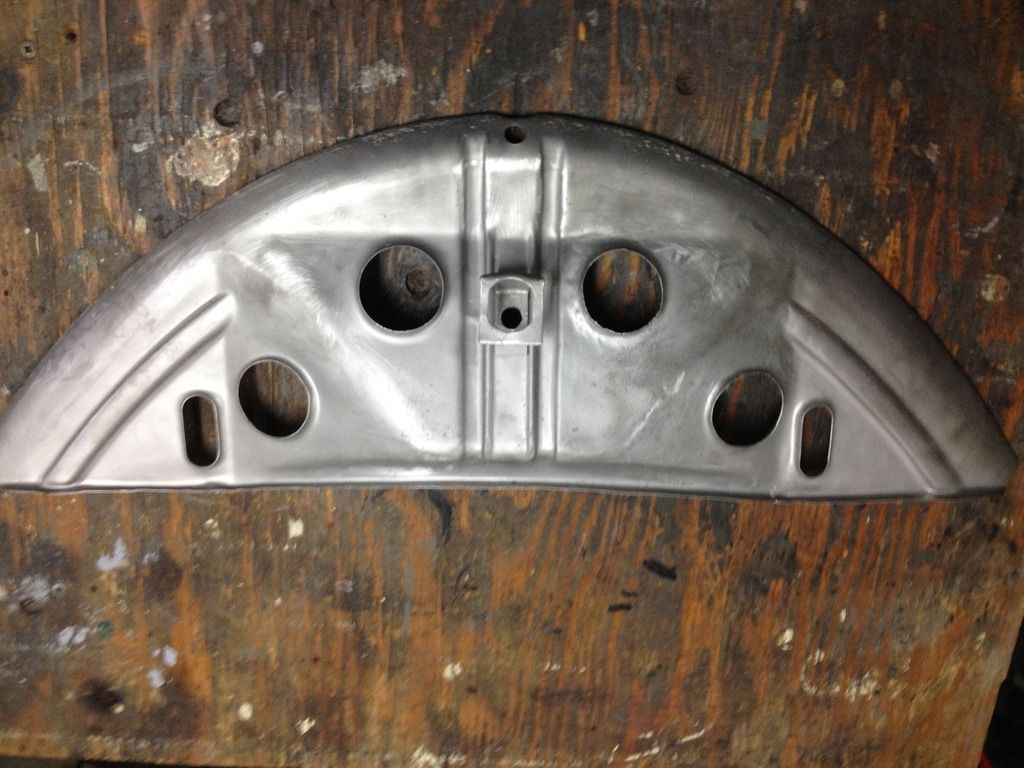 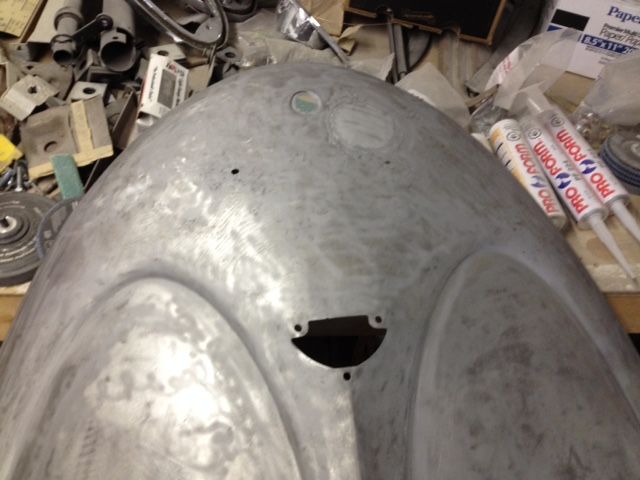 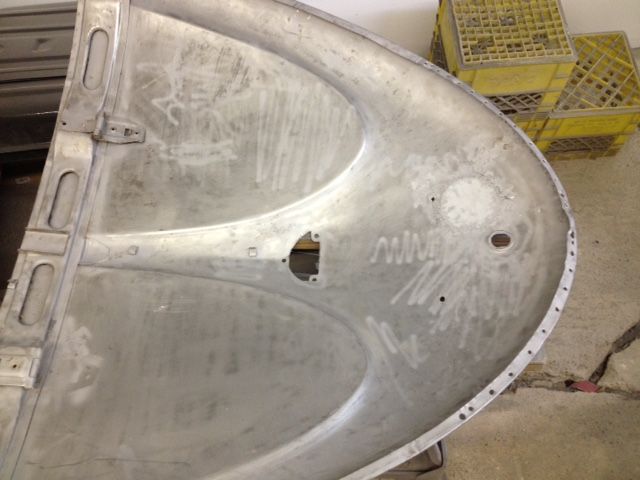 The Chevelle guy is doing a patch over top some rust on his trunk the patch goes flat over the oe sheet metal and is not going well patch has gaps and beads of steel have rolled under patch between patch and sheet metal have to be dug out to lay flat. Tractor guy has stripped his hood and banged dents out we did some shrinking with a welding torch dime sized spots heated hammered and then cooled with a wet cloth it was then sanded with orbit sander 80 grit and applied the higher grade napa gold filler then when just right was first graded with a round bottom cheese grater but not too much and then when just still green sanded with 40 grit in a log flexible sander keeping it parallel to work but sanding cross work in a criss cross first one direction then the other.If turned out good but still needs a second coat.The El Camino guy didn't do anything but be helpful this guys shop looks like the one a C Tire 2 lifts.My decklid I had thought I got all the pinholes in the welds but instantly the instructor found 2 he held it up to the light which made them obvious where I had held the light below the work and tried to see light coming through 2 little tacks and a grind not problem. My work was sanded with the 80 and prepped for filler. The instructor said that because I had done a good job that kitty hair waterproof filler which normally goes over welds was not necessary and we would go straight to the gold. We ran out of time so until next week that is it now I can go back to rebuilding headlight buckets 7 of them. T |
|
|
|
Post by tony on Feb 12, 2016 15:09:16 GMT -8
Looks like no filler is needed , just go straight to clear coat.  |
|
|
|
Post by PICTUP on Feb 12, 2016 17:57:47 GMT -8
Looks like no filler is needed , just go straight to clear coat. Naw, you gotta let it rust a bit first Looks great Terry! Thanks for the updates! I gotta take that course…..  |
|
|
|
Post by radracer on Feb 12, 2016 23:06:56 GMT -8
Looks like no filler is needed , just go straight to clear coat. Sorry that's my design  |
|
|
|
Post by camplug on Feb 13, 2016 9:47:39 GMT -8
Lookin good Stude! Clean metal work has got to be rewarding!
|
|
|
|
Post by Wongai on Feb 15, 2016 10:33:25 GMT -8
Well done as usual. Sounds like you are the star student of the lot. You are making good progress. Imagine getting the entire car to that level. Run with it!
B
|
|
|
|
Post by stude on Feb 17, 2016 10:11:26 GMT -8
Here is a teaser another class tonight had one last night got the inner support welded back in 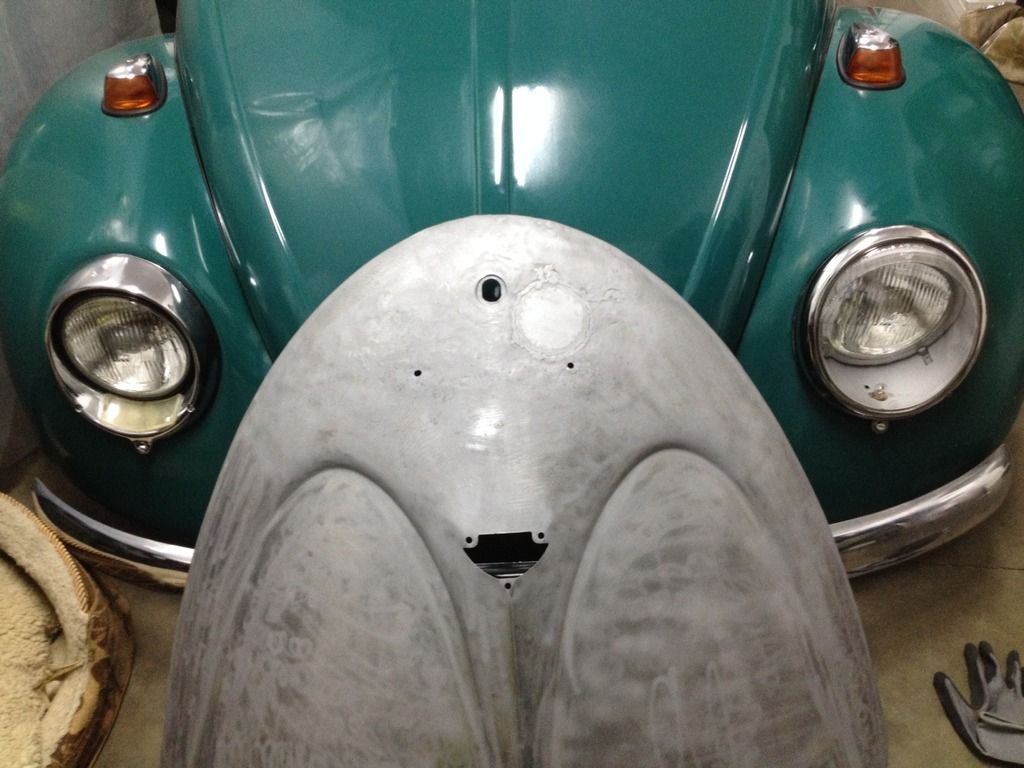 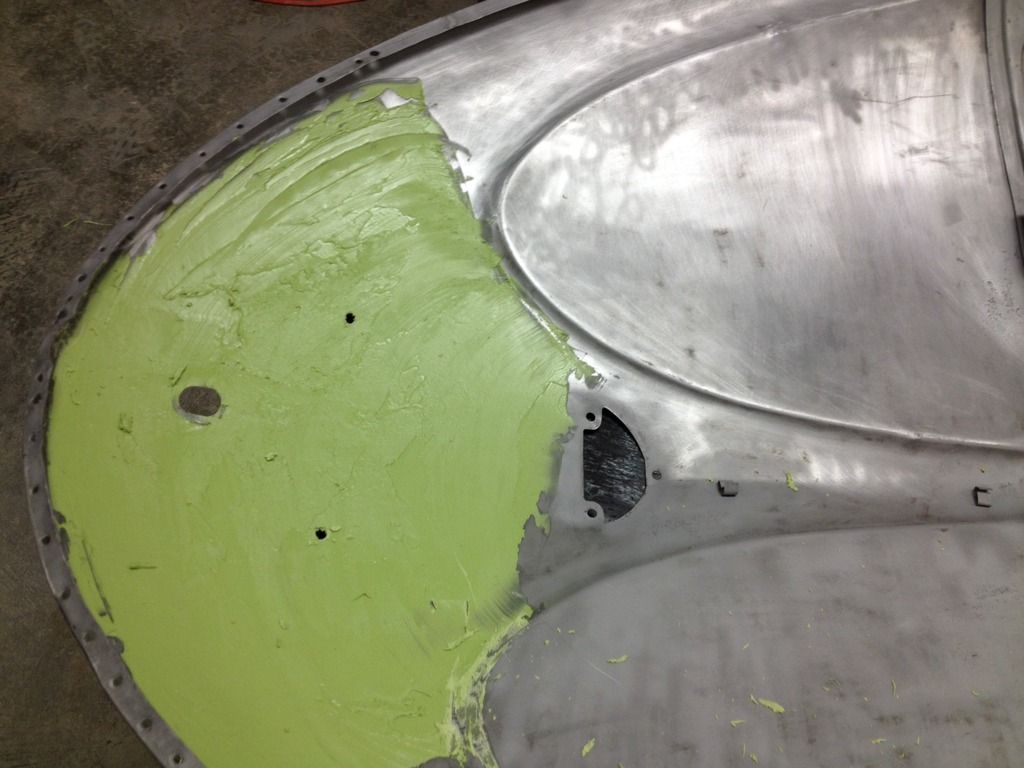 |
|
|
|
Post by stude on Feb 18, 2016 9:27:24 GMT -8
|
|
|
|
Post by stude on Feb 18, 2016 9:38:51 GMT -8
Most of the kitty hair was shaved from the inside with a paper knife well it was still setting but just firm enough to cut easily the outside was shaved well still green as in not set yet fully. First I used a body file to shaved the humps then well still green with # 40 grit on the long sander finishing with #80 on the orbital. Try to as get much of the sanding done well glass is still green it does not plug the paper unless you have inconsistency in your mixed glass from poor mixing. 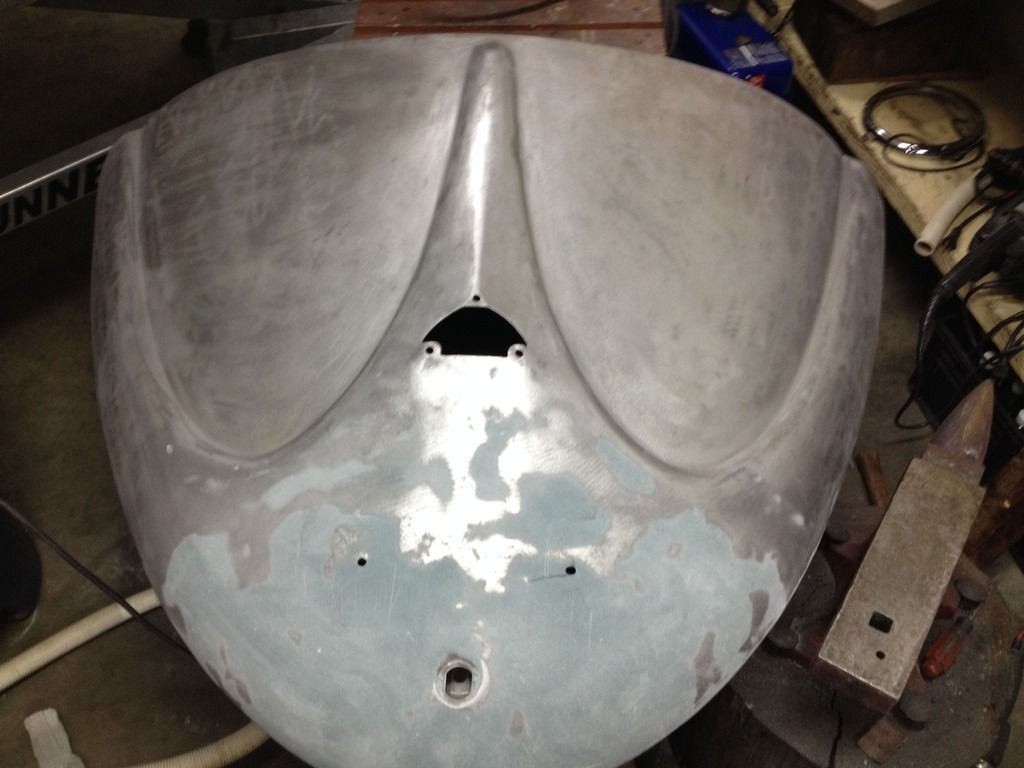 |
|
|
|
Post by Volktales on Feb 18, 2016 9:45:40 GMT -8
Looking great, Terry. I like you went with original lights/signals on your '65 too.
|
|
|
|
Post by stude on Feb 18, 2016 10:09:42 GMT -8
Once that was done the bondo was applied mixing good then you load it onto the project before spreading and smoothing with slow long sweeps over the surface if you push too fast it does lay smooth. Because it is a round shape it doesn't matter which direction you sand but start at the edge.This whole side was sanded with a sanding block and # 40 paper then finish with #80 paper.I should mention that the fillers are mixed on a flat surface 20 gauge sheet with 2 flat blade scrapers one to help the other clean this way there are no gaps to trap material and no material goes un -mixed. This material is also sand green just when you are able to scratch with your fingernail go for it before it gets too hard. 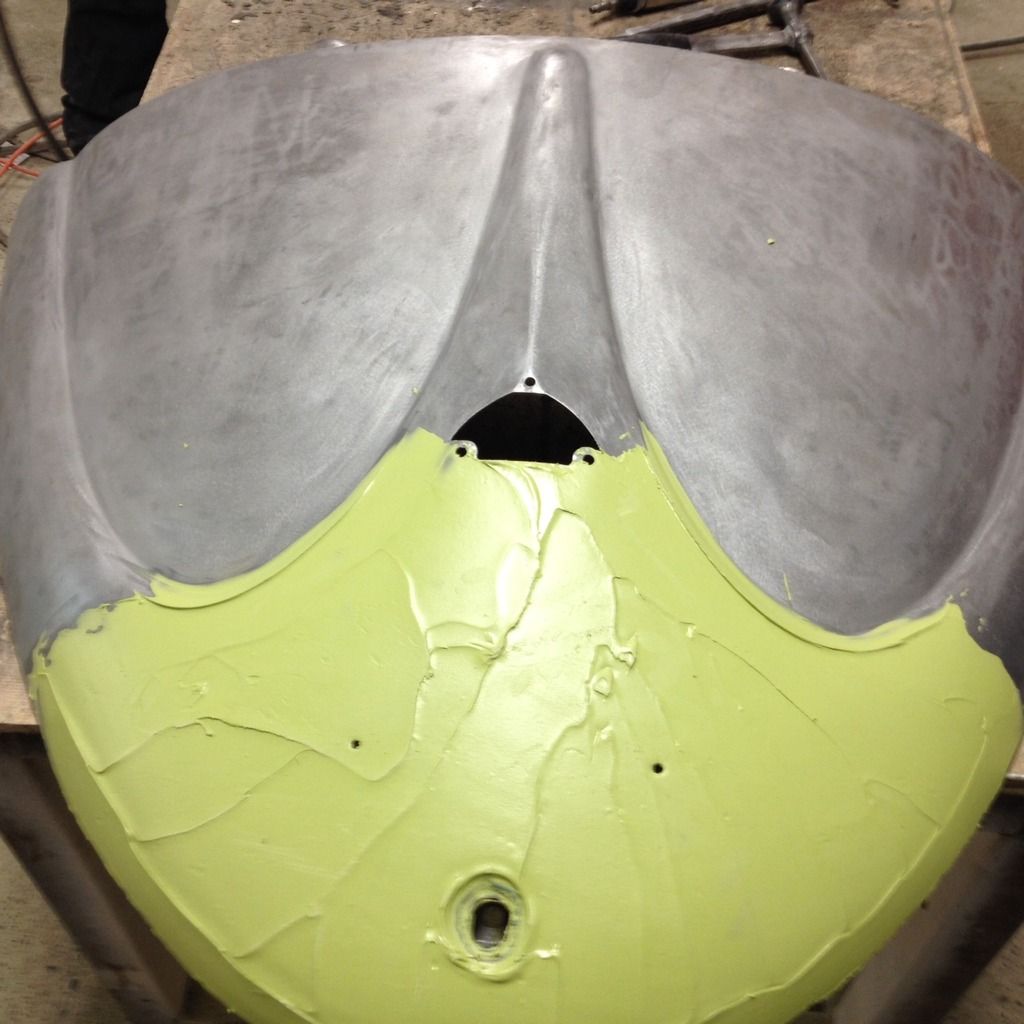 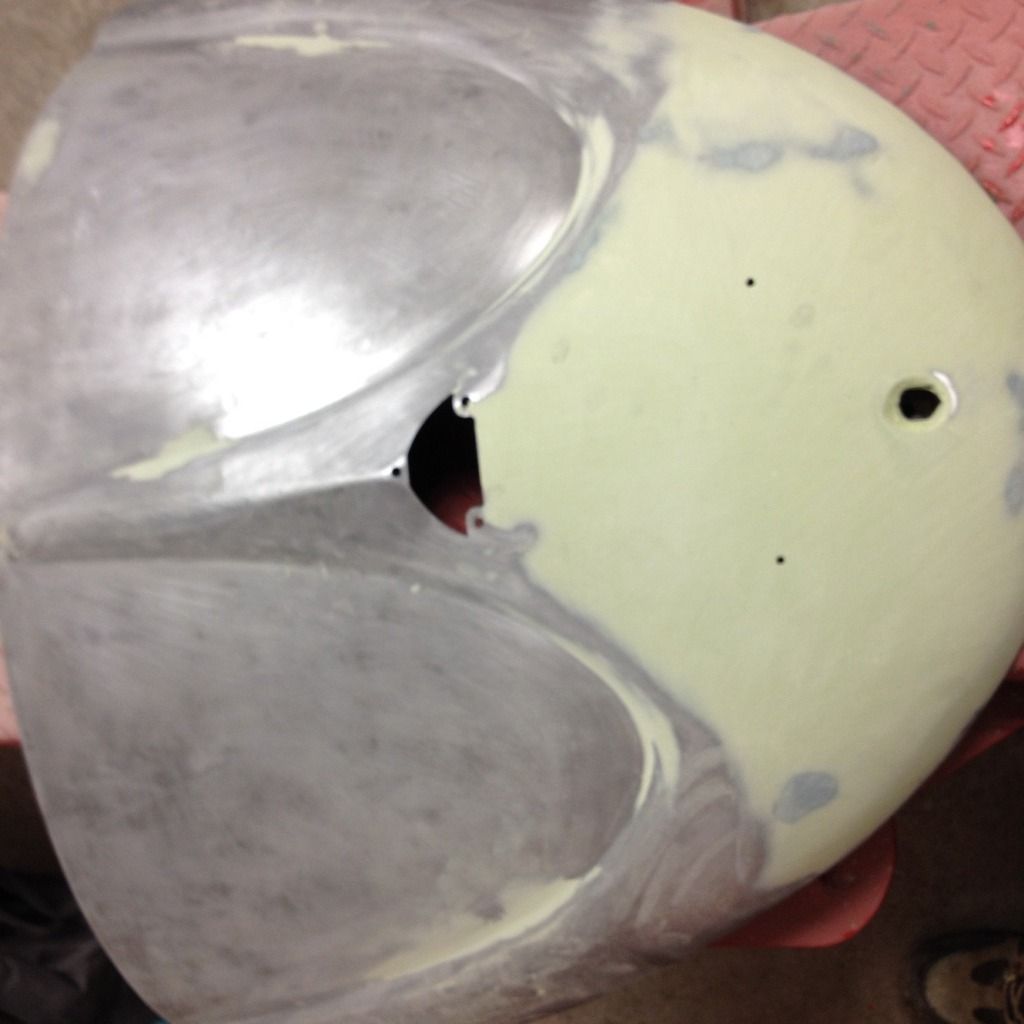 Next week 2 part glazing putty. Oh and those other guys well Tractor guy has applied second coat bondo and that hood is looking long and straight he is going to be glazing next week Chevelle guy dug out the weld beads by flipping his trunk lid over shaking and picking I think he had to grind off a spot weld or 2 then he got the patch welded back down tight filled with kitty hair then bondo and is ready for glazing and then El Camino he had been working all his dents and bends out from the fender being booted in I think he was trying to do it well trying to the preserve the oe paint and stripes and had done a pretty good job but has now got it straight and has sanded the panel down with and orbital and is prepared a patch for the edge and around the lower lip of the fender consisting of 2 pieces one down the face and bent around the edge and one on the lower face to be lap welded and fitted before cutting out old and fitted with new. |
|
|
|
Post by stude on Feb 18, 2016 10:11:00 GMT -8
Looking great, Terry. I like you went with original lights/signals on your '65 too. I knew you would like that. |
|
|
|
Post by PICTUP on Feb 18, 2016 20:02:51 GMT -8
Looking great, Terry. I like you went with original lights/signals on your '65 too. I knew you would like that. How about the mismatched headlights? Are you needing a piece of glass for the stock set-up, or are you doing the Rossi(?) thing? The deck lid is really coming along, great work! |
|


