|
|
Post by stude on Feb 19, 2016 7:22:43 GMT -8
I haven't put the second stock headlight back together yet.
T
|
|
|
|
Post by stude on Feb 26, 2016 10:26:53 GMT -8
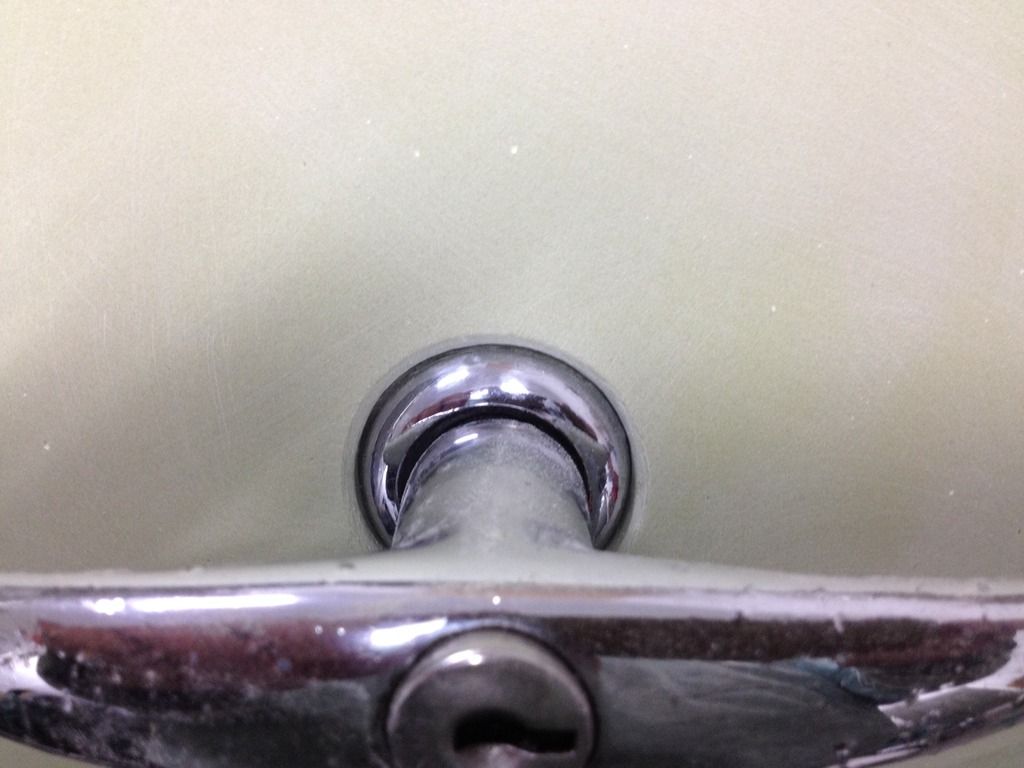
I got the second headlight done and installed it but I wasn't thinking and like mitchy965 told us gotta keep your eyes open! Well I had connected the hot wire for the parking light straight to ground on the screw terminal park light socket and toasted the wire from one end to the other I had it all buttoned up and under the hood as well. So when I tested it the smoke started creeping from the headlight and from under the hood and dash so I freaked and pulled the headlight then ripped the wire off the dash and pulled all my fuses it was hard to walk away that night fearing fire and the car was buried deep in the garage that wire gets fed from the light switch that get fed from the fuse box the fuse for the circuit is 16amp the one that was in there was 25 amp. Walked away for a couple days and then replaced the wire put it back together testing first they work. Ok now for these 2 headlights the CIP trim rings were used and as expected the are crap fit and finish looked OK because they were the cheapo ones only just over 10 bucks each the back sides were painted well pulling off the masking tape some of the chrome came off. There is a second trim available from WCM and some of the others CIP doesn't offer can someone suggest were I could get them for the next 2 headlights that get done the adjusting screws as well. Bow-Wow at VVWC and Speedway Chris is who I am thinking of asking. T 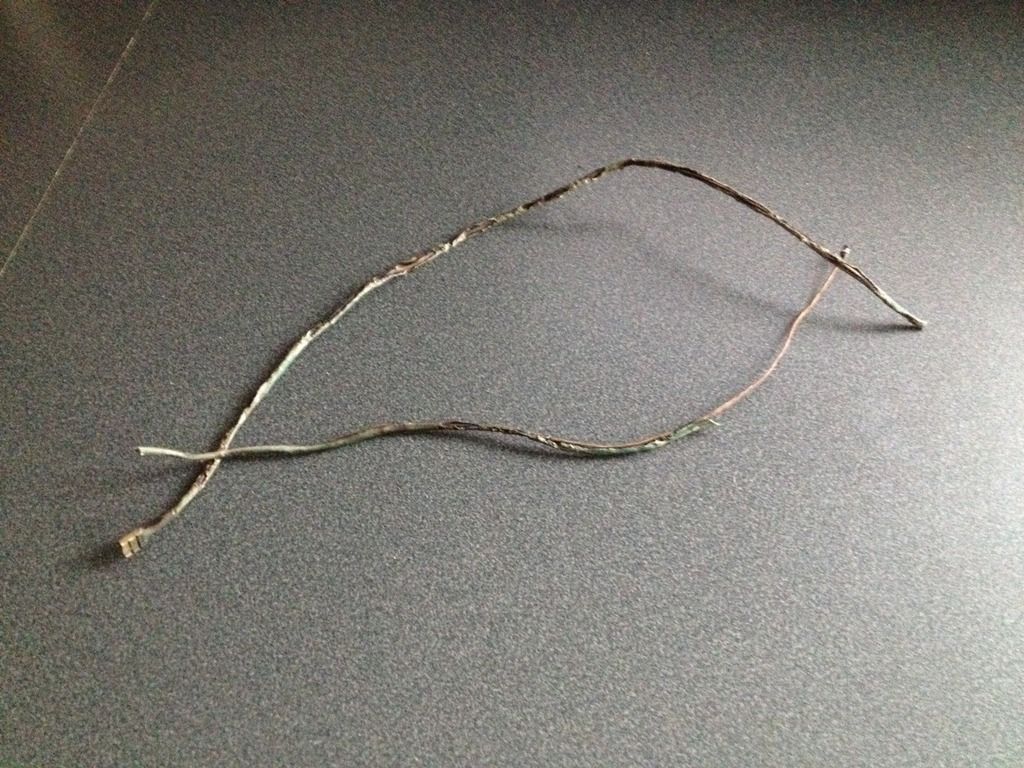 |
|
|
|
Post by stude on Feb 26, 2016 11:10:39 GMT -8
AUTO BODY COURSE has finished and I have fallen behind Chevelle guy has his patch welded/kitty hair/bondo/2 part glazing putty ready for primer it was also recommended that he sell his car and find another project that didn't require so much work did I mention that it is a 4 door. Tractor guy and myself have been sanding our bondo jobs between us we have already gone through a gallon he has a large area to float and my problem is when I welded the 2 half together the decklid handle and bezel were not there what happened was the outer face that holds the bezel was out of line and when the bezel and handle installed they did not line up with the hole on the inner piece the handle goes through. I had my first coat of bondo on and it got bashed up aligning the outer sheet metal so it was cleaned up this next coat we applied shoving the bezel in the wet bondo and then pulling it out just as it starts to harden. This was then sanded and clearance around bezel but still it sat crooked the handle was then installed and bondo filled around the installed bezel and handle this worked but now I have lost my indentation that the bezel sits in we decided this is how it is going to be. Well I have signed on to the next course PREP AND PAINT FOR DYI I have homework to float some bondo up the hood to fill some low spots then hopefully be able to go straight to primer and do any glazing over top of the primer I am also going to revisit the handle hole and see if I can build it up to add the recess around the bezel well see. El Camino guy has his 2 patches welded in with kitty hair and has done some shrinking ready for bondo. 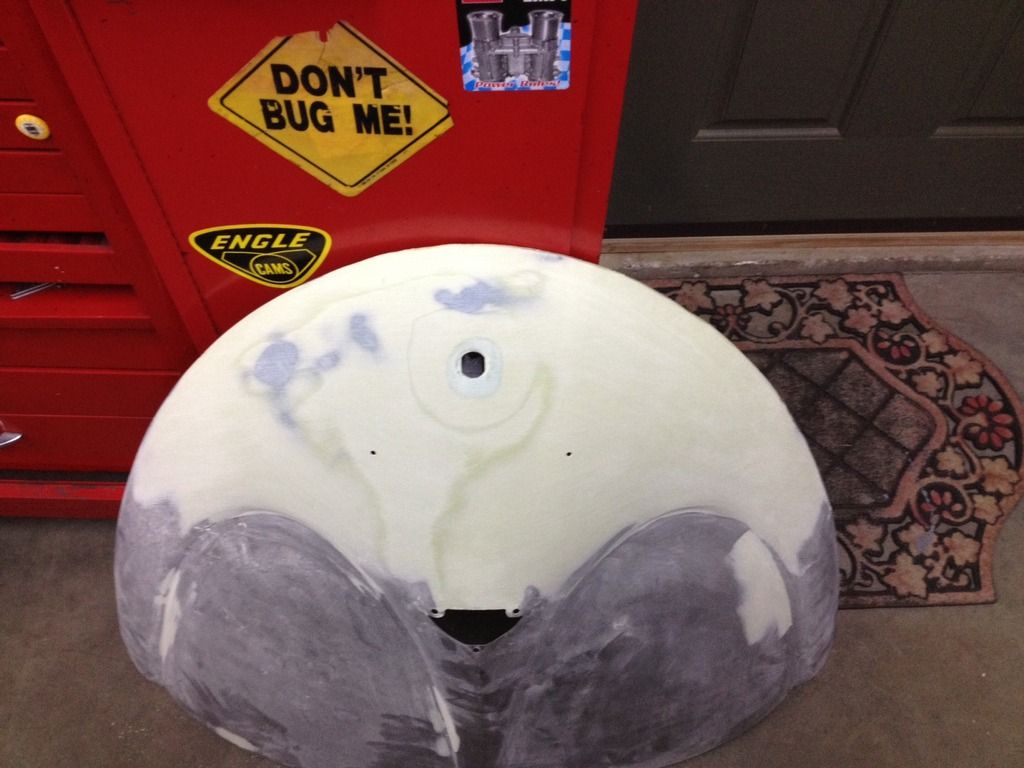  |
|
|
|
Post by clay on Feb 26, 2016 18:02:07 GMT -8
Ok now for these 2 headlights the CIP trim rings were used and as expected the are crap fit and finish looked OK because they were the cheapo ones only just over 10 bucks each the back sides were painted well pulling off the masking tape some of the chrome came off. There is a second trim available from WCM and some of the others CIP doesn't offer can someone suggest were I could get them for the next 2 headlights that get done the adjusting screws as well. Bow-Wow at VVWC and Speedway Chris is who I am thinking of asking. T I know someone who has a couple boxes full of original rings, screws and all the other hardware for the pre-67 style headlights, if you'd prefer some OG stuffs. |
|
|
|
Post by 68IIIbuggy on Feb 26, 2016 22:28:03 GMT -8
I have a few early headlights kicking around too. Not sure how good they are, but I may have something for you.
|
|
|
|
Post by PICTUP on Feb 28, 2016 12:10:49 GMT -8
Hey Terry,
Great stuff here! I created a new board so this autobody info thread and others' tips/technique threads will be able to noticed/found more easily. Unfortunately I couldn't find a way to make you the initiator of the thread, sorry!
Cheers,
Don
|
|
|
|
Post by stude on Feb 29, 2016 10:28:41 GMT -8
I had some homework to do before starting the PREP & PAINT course that is 4 weeks 2 hours Monday and Wednesday nights the deck lid was to be floated both sides up to the top and a small 1/16 inch crack welded on top corner of top lid I was not happy with losing the detail around the handle so I went back at it it took 2 tries but is there now I did the filler 4 times tennis sized blobs each time. It was done in 4 steps is because I didn't get it on the first one and you don't mix anymore bondo that you can finish in a go. So this is what I was unhappy with. 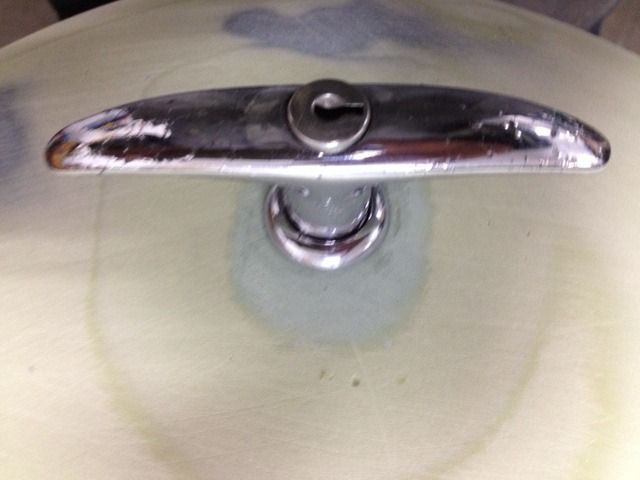 I then stuck it together for correct alignment and filled to top of bezel. 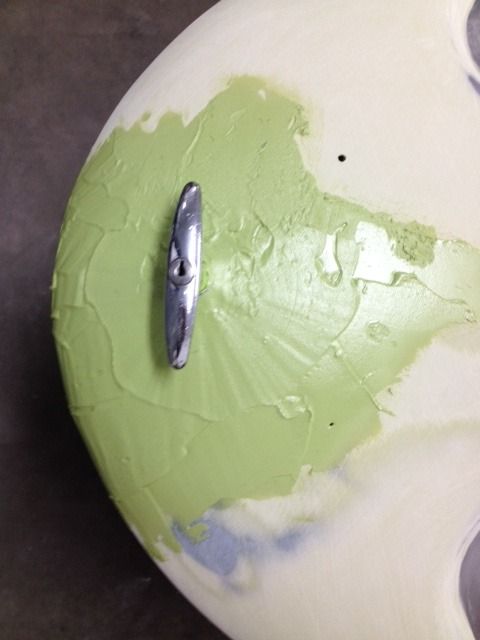 I then dug out the bezel and cleaned the shaped the hole. 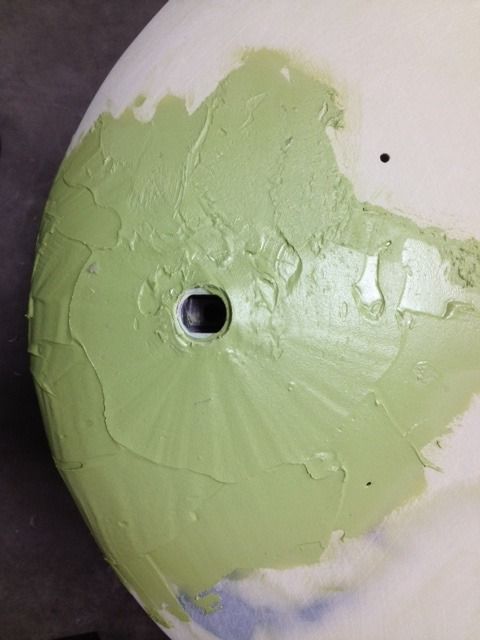 Then sanded it out you have to sand it out well still green just hard enough that you can scratch it with your fingernail using #40 paper the whole thing has been done with just a sanding block when you start sanding the bondo rolls off in crumbles under the paper and use pressure you would think the paper would clog but it doesn't too bad. 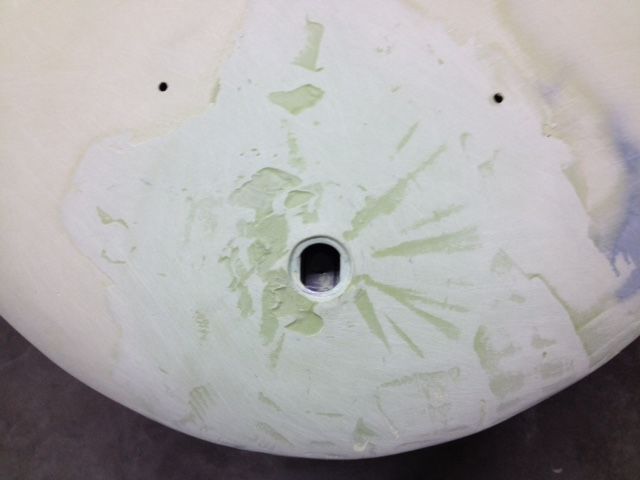 |
|
|
|
Post by stude on Feb 29, 2016 10:39:38 GMT -8
|
|
|
|
Post by stude on Feb 29, 2016 10:52:19 GMT -8
The the detail is there I haven't sanded the edge over yet I am leaving the extra material there for now to help save the hole from getting sanded out. The sides were to be floated with a thin coat of filler and sanded to smooth so whole surface is level from one side to the other. 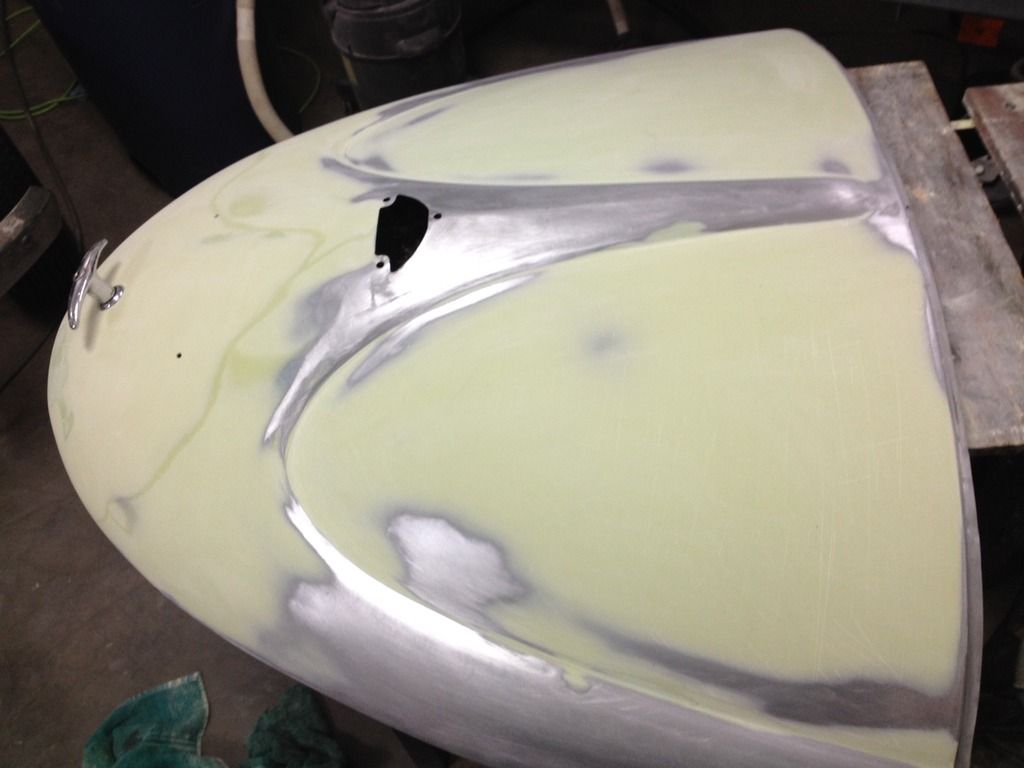 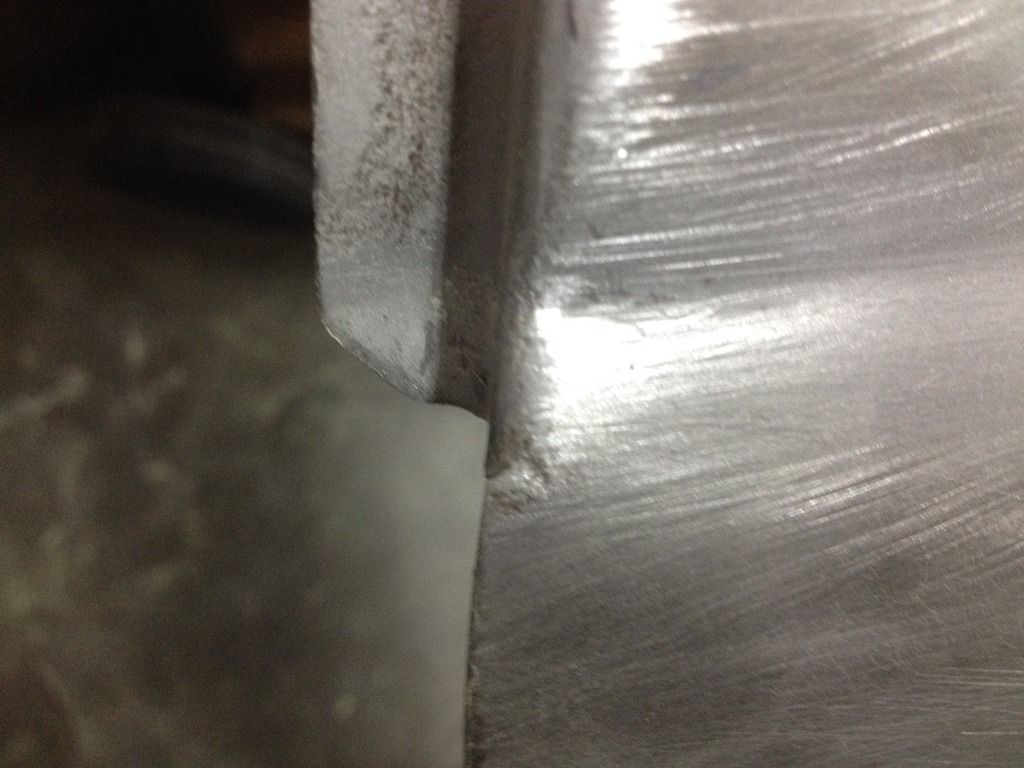 Everything was sanded with #80 and then #120. The crack is about 1/16th inch i got it in one tack. |
|
|
|
Post by stude on Mar 1, 2016 10:00:59 GMT -8
 Clay and Jacob I will be sending you a PM soon. T |
|
|
|
Post by stude on Mar 11, 2016 10:33:38 GMT -8
On the prep and paint part of the course the first class was a talk and introduction to paint different types and guns and some reading material the same 4 students we just continue to work on our projects. I seem to be ahead of everyone for now so I have been helping the other guys sand there bondo the second class that we had in this part they were laying some more filler and ran out of time to sand well still green maybe not enough hardener so they had to let it dry for the weekend this made sanding harder but not terrible with the #40 paper. We then applied some we then applied some epoxy primer first on the inside of the decklid and flooding the lower inner support with a heavy coat after letting dry for 1/2 hour we flipped it and sprayed 1 full coat on the face. The decklid and other projects were cleaned prior to this just by wiping with a clean cloth I used a small amount of lacquer thinner from a spray bottle and cleaned one corner that appeared to be weeping something that was it. My gun is a piece of crap and my methods were bad so I could not use my gun it seemed to be plugged in comparison to the instructors I would just turn up the pressure thought my gun was OK but knew it was cheap anyway the paint was filtered put into the other gun more paint added then we painted the lid the Chevelle trunk only where the repairs were the Tractor where the bondo and bare metal repairs some areas where pitting had occurred the epoxy primer is a good rust inhibitor. El Camino guy has managed to remove all the dents put in 2 patches and filled and ready for primer.  Thanks for the offers on the parts and sorry for not replying I mostly just wanted easy Jacob I would not you taking from your personal stash same with Russ but Clay I see you as a recycler and would like to support the business am I right I will contact you I have a list. T T |
|
|
|
Post by clay on Mar 11, 2016 19:31:35 GMT -8
Yep, never been called a recycler but that's what my parts pile is for!
Decklid's coming along nicely...let me know when you're ready to go to work on mine ;-)
|
|
|
|
Post by Wongai on Mar 14, 2016 7:25:24 GMT -8
Man that's awesome. When this car is done you will be standing back staring at that deck-lid thinking about how much work you put into it.
Now you just have to start working your way around the car.
B
|
|
|
|
Post by stude on Apr 15, 2016 9:18:13 GMT -8
Ok here are some updates we got the epoxy primer on last class and next class we scuffed up the epoxy and sprayed 3 coats of high build 2 part primer 2k primer we ran out of time last class or else we could have sprayed the 2k without have to scuff the epoxy to scuff the epoxy we used a scuff pad they look like scotch bright and come in different grits I have never seen these before and I like them they are prefect for scuffing paint surfaces. We did 3 coats with 50% overlap with 20 minute drying time between coats. 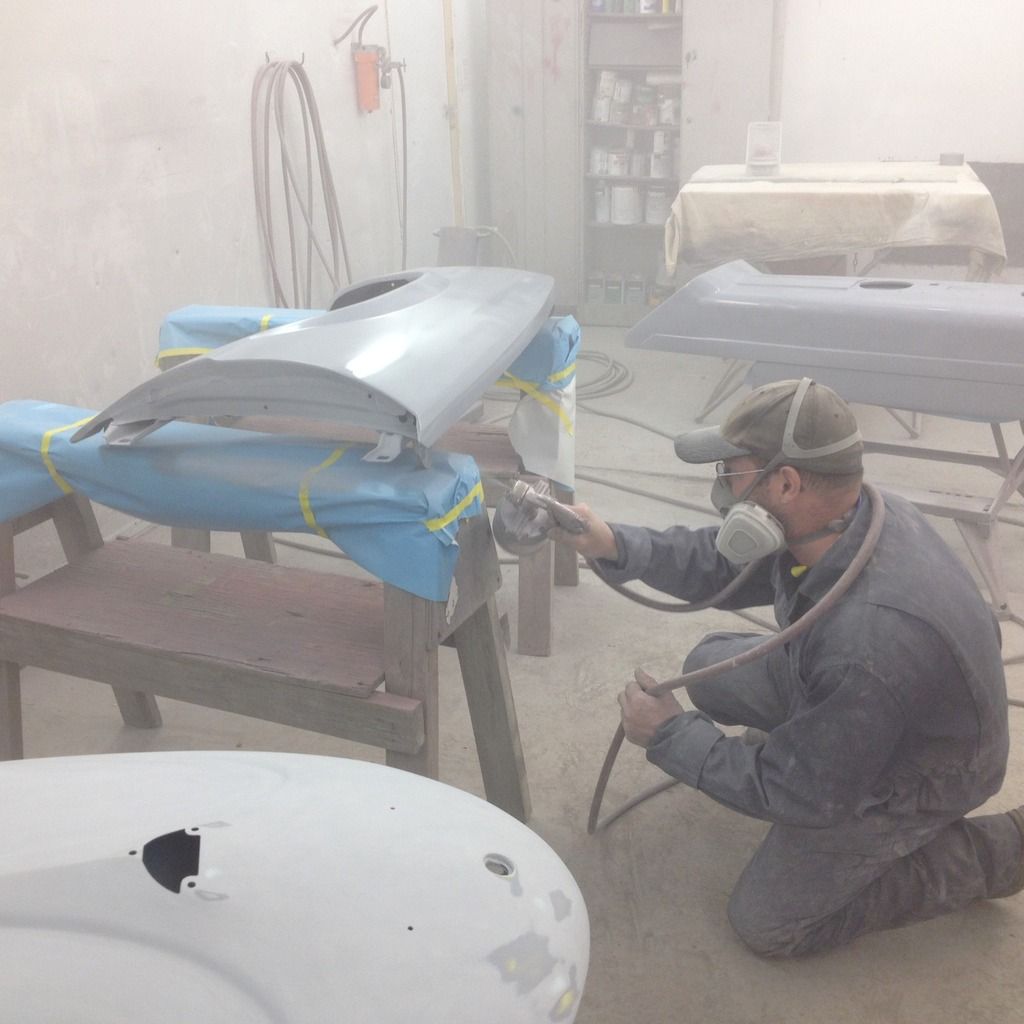 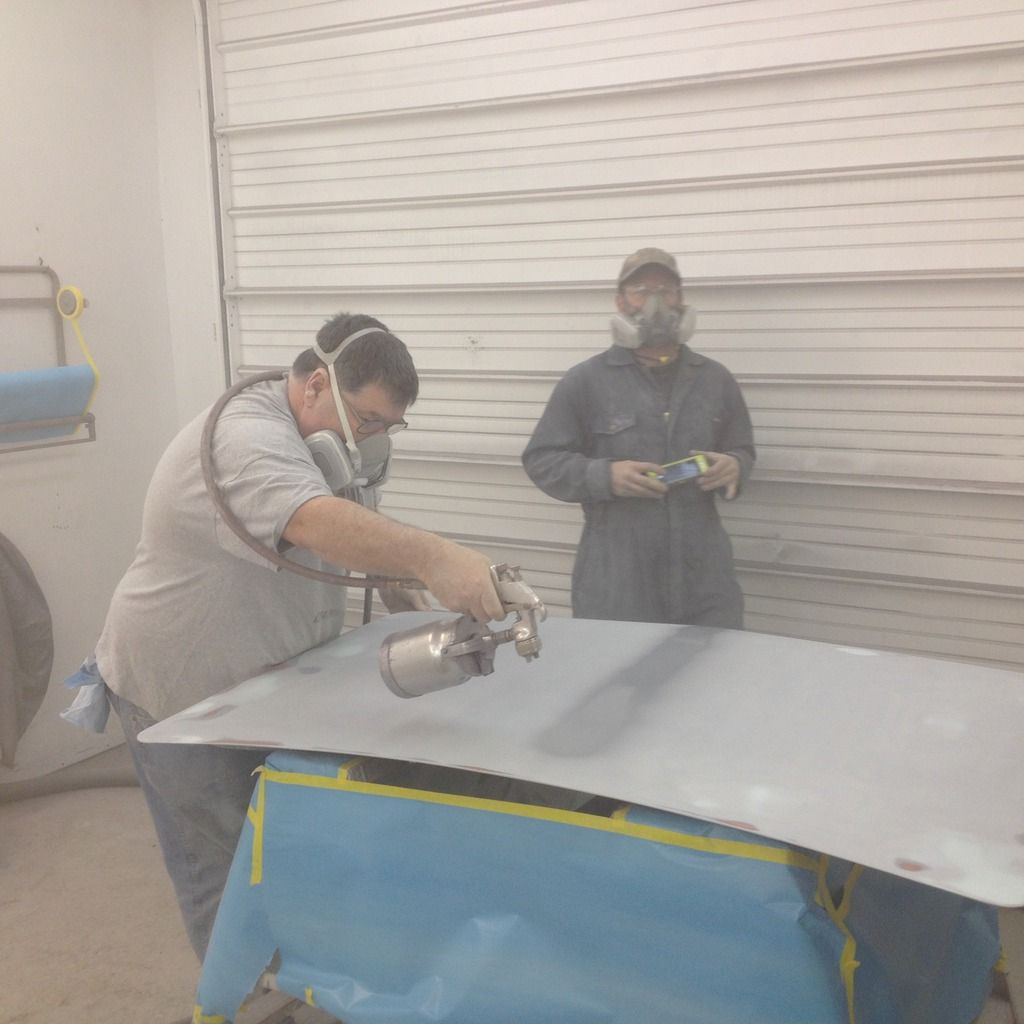 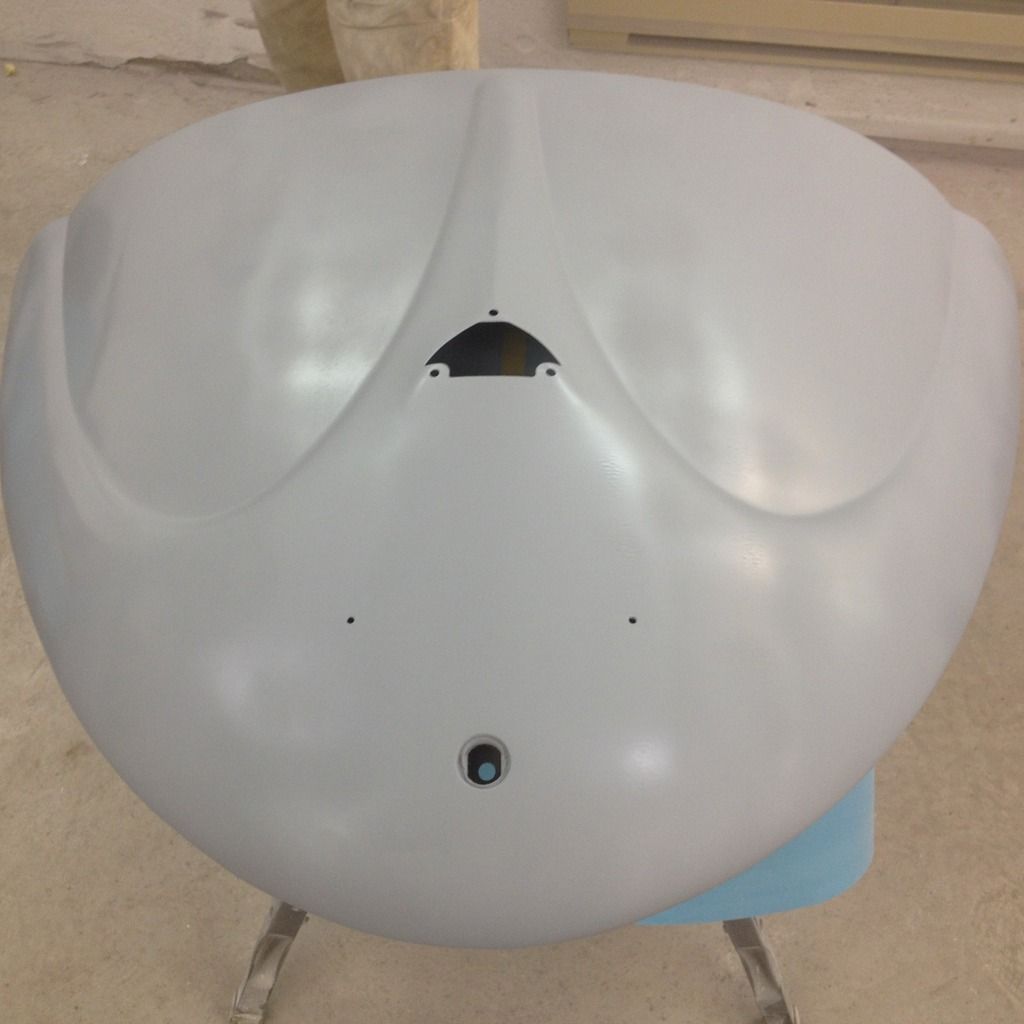 After this class there was only one more class and there was only space to paint one of our panels and it is the Chevelle trunk lid. |
|
|
|
Post by stude on Apr 15, 2016 9:36:01 GMT -8
The prep for my inside my trunk is still epoxy and it was suggested that I just scuff it and paint it well I bought 2 new paint guns one for primer and one for paint and sealers of course I couldn't just scuff and paint there were 2 very small cracks one in the edge and one at the hinge I welded them up filled with kitty hair sanded bit of bondo cleaned with isopropyl then 3 coats of high build primer much more sanding down to 320 paper. 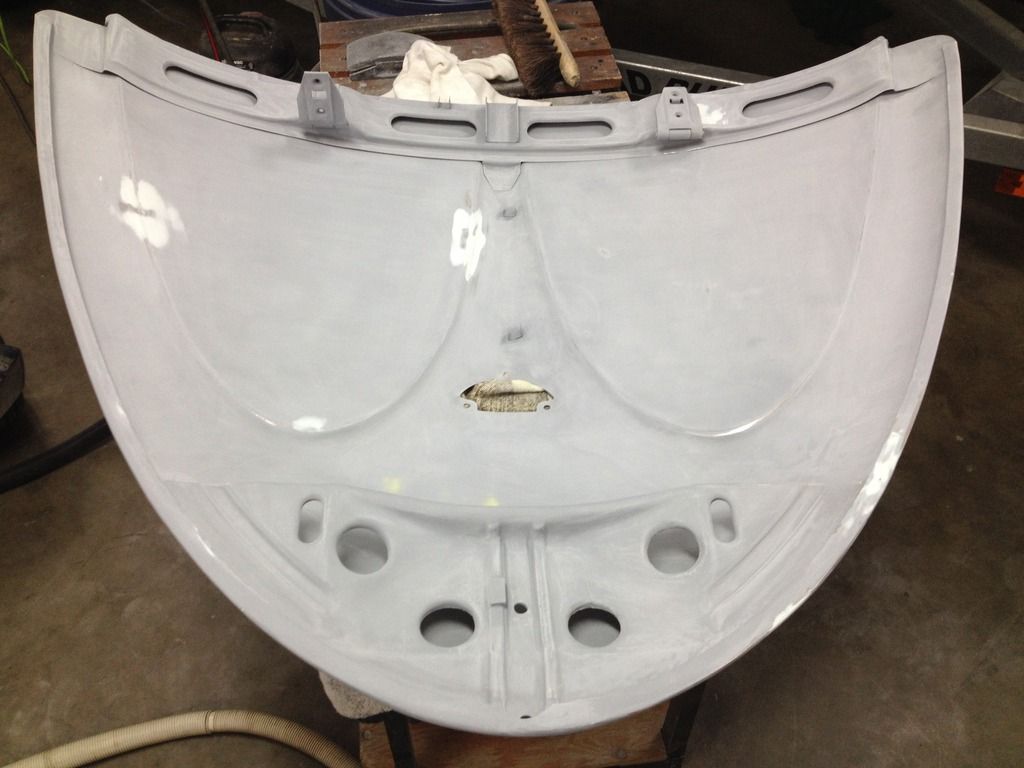 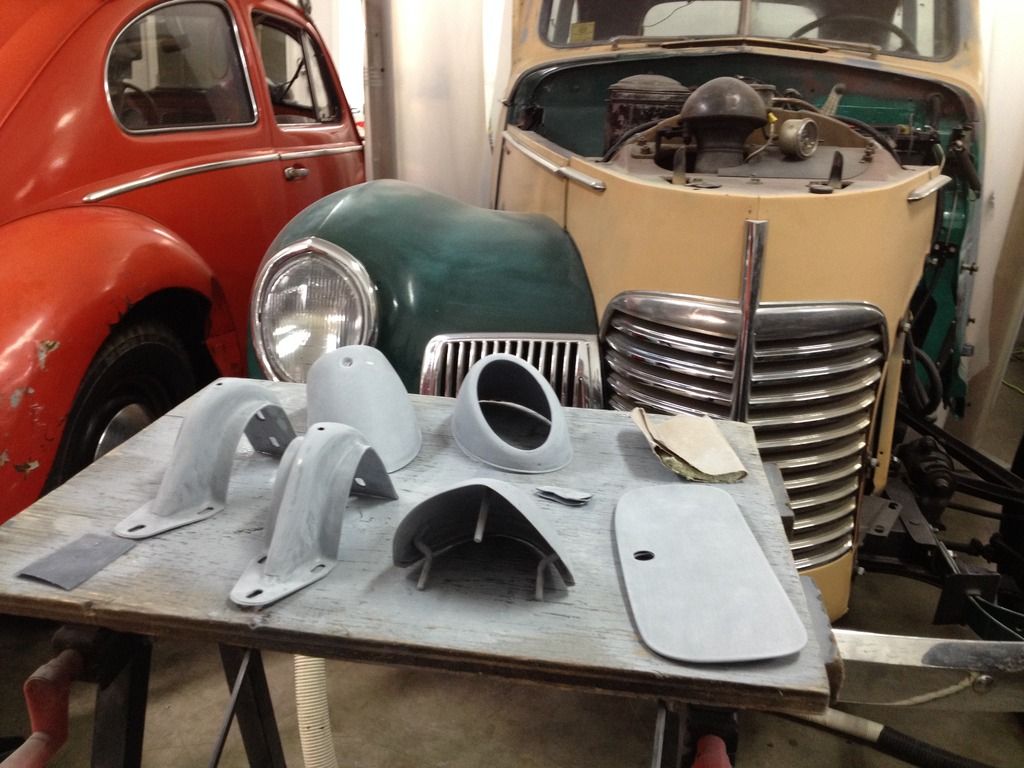 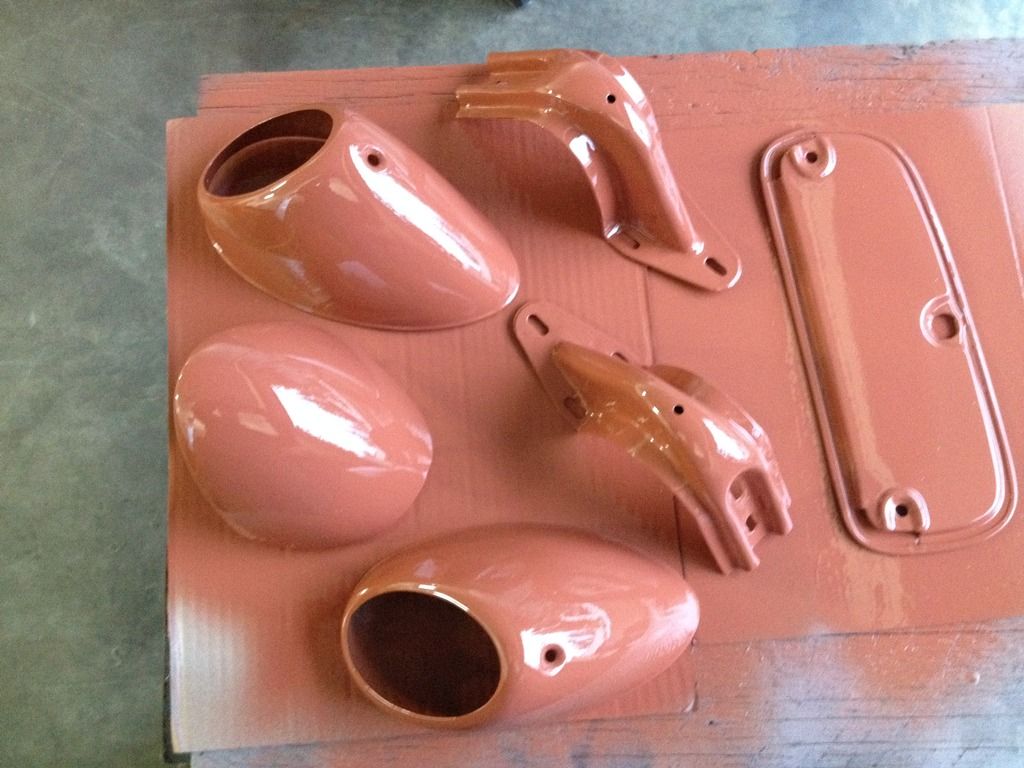 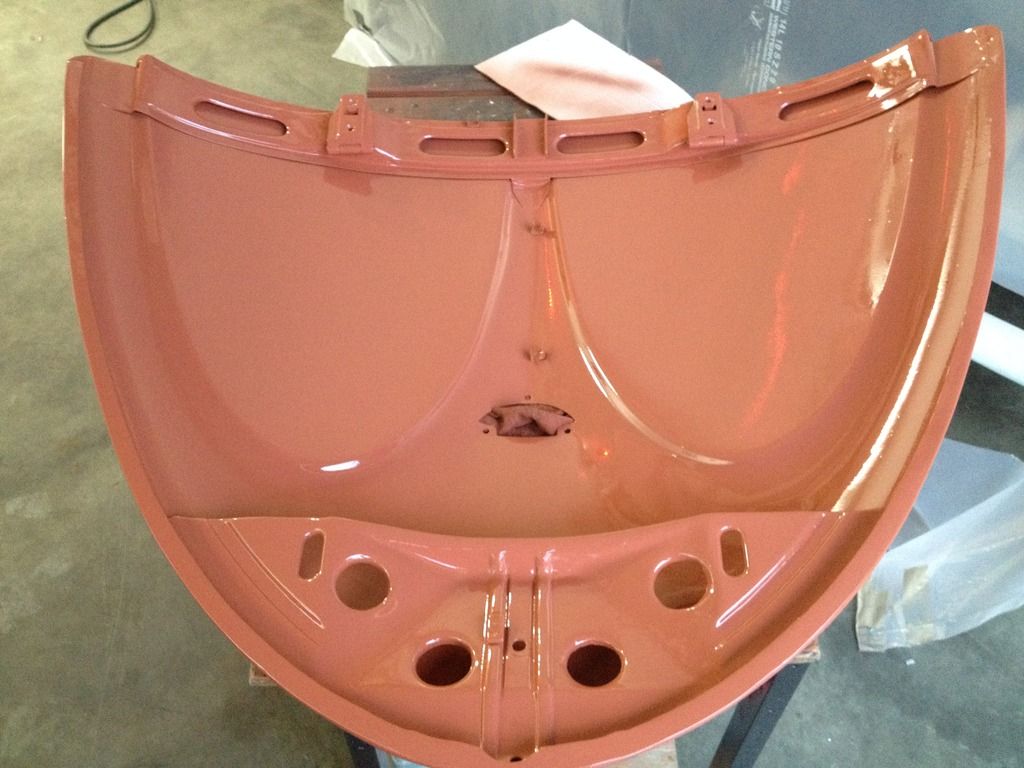 These may look alright but there is a problem with fisheye in the paint oh well on to the face. T |
|


